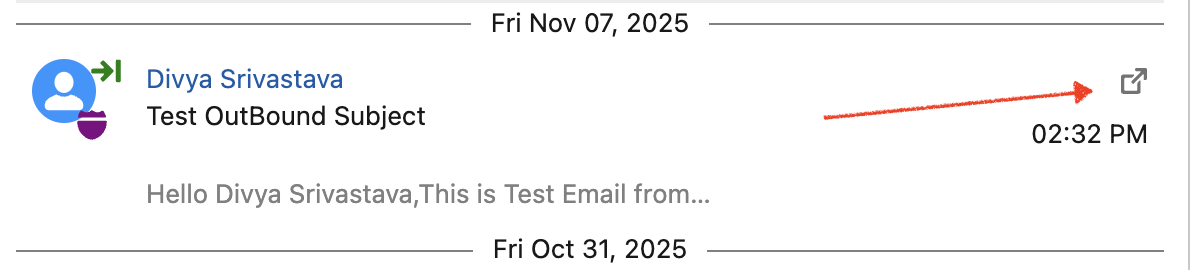
This guide provides a step-by-step walkthrough of how to send a Secure Email directly from a Salesforce record. It explains how users can select sender information, add recipients, choose or customize email templates, attach files, preview content, and optionally schedule emails for future delivery. The instructions are designed to help Salesforce users easily navigate the Secure Email functionality and ensure communications are sent accurately, securely, and in compliance with organizational settings.
Step by Step Instructions
2.1 Log in to Salesforce
Sign in to your Salesforce org with your user credentials.
2.2 Open or Create a Record
Navigate to any record in Salesforce—this can be from a standard object (like Account, Contact, Case) or a custom object.
You may also create a new record if needed.
2.3 Click “Send Secure Email”
On the record page, click the Send Secure Email button to open the email composer.

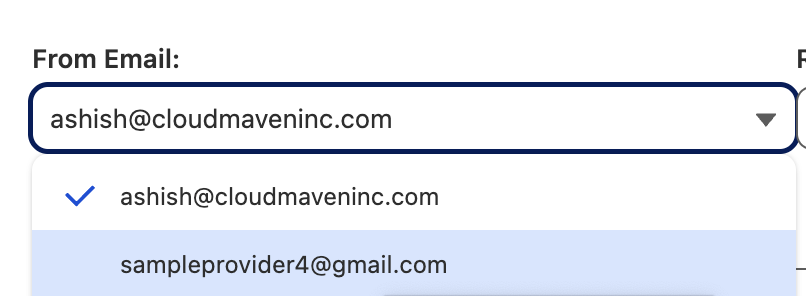
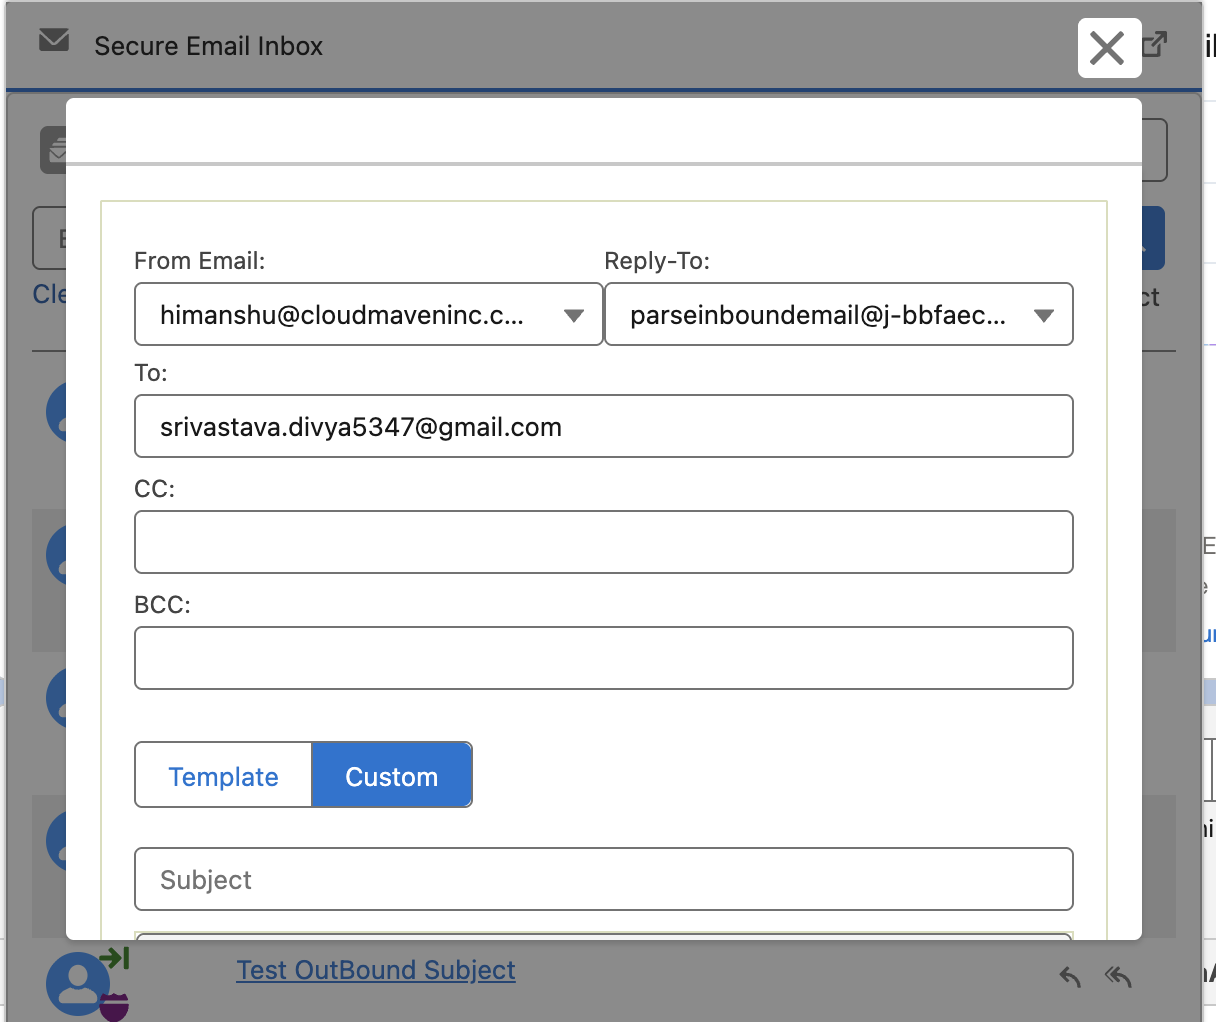
2.4 From Address
The From address will automatically populate.
-
This dropdown includes your Salesforce user email and all verified Organization-Wide Email Addresses (OWDs).
-
An OWD address can also be set as the default through configuration if preferred.
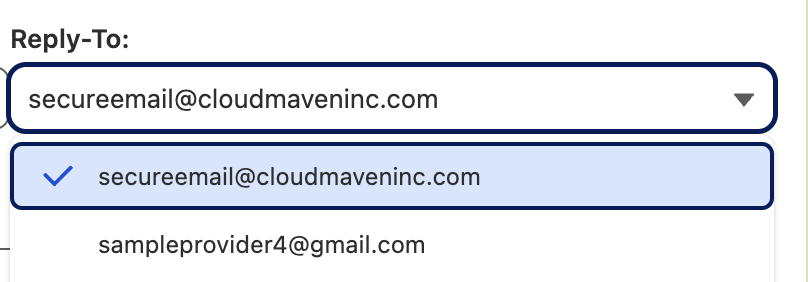
2.5 Reply-To Address
The Reply-To address may also auto-populate based on your org’s configuration settings.
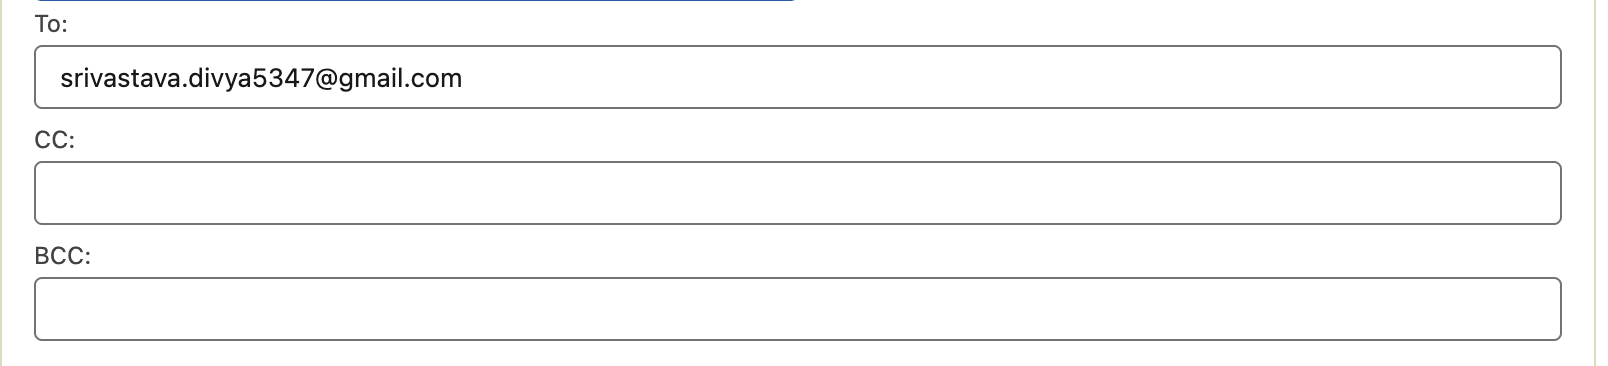
2.6 Add Recipients (To, CC, BCC)
There are multiple ways to populate email recipients:
a. Manual Entry
-
You can manually enter email addresses.
-
Admins can predefine mapping for To, CC, and BCC fields via metadata configuration.
-
You can enter multiple values separated by commas.
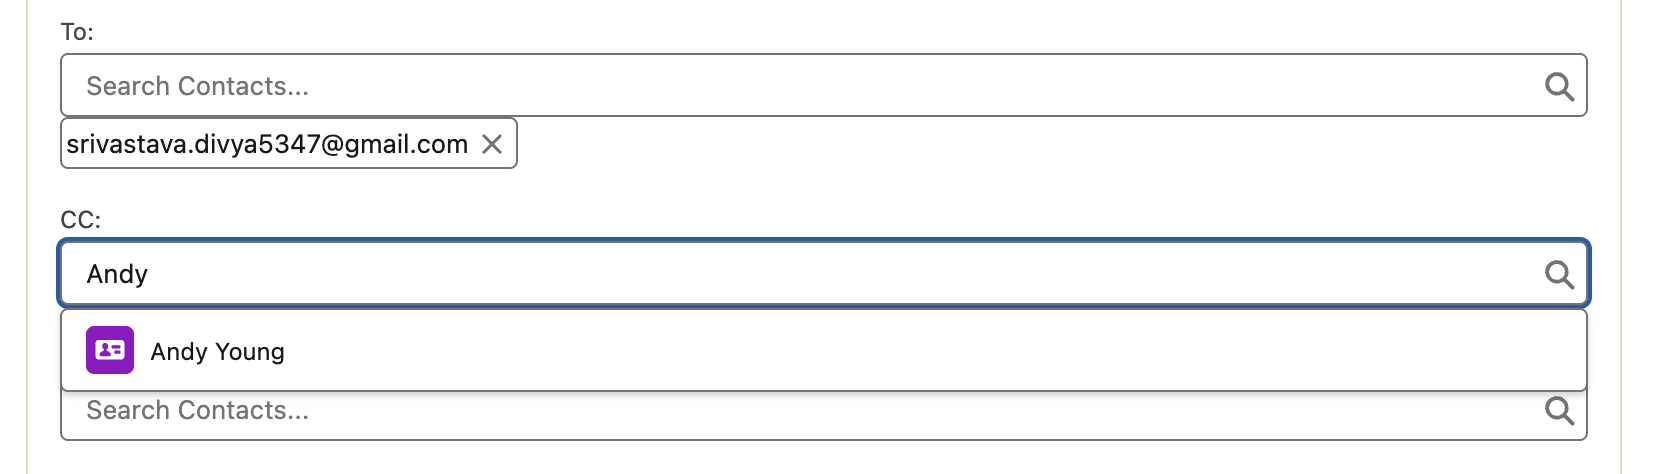
b. Contact Lookup
-
If Contact Lookup is enabled, you can simply type a Contact name and select it from the dropdown for To, CC, or BCC.
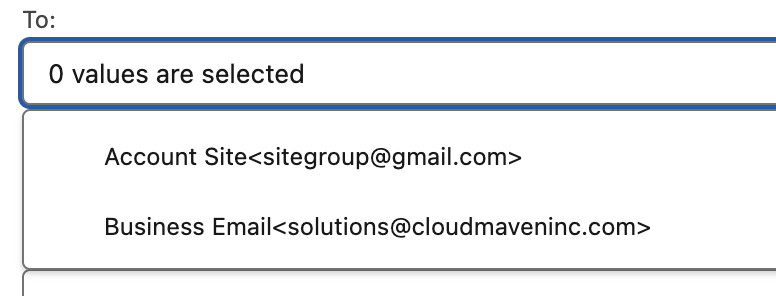
c. Multiple To Address Fields
-
If your record has multiple email fields, this feature can be enabled to allow you to choose from any mapped fields on the record.
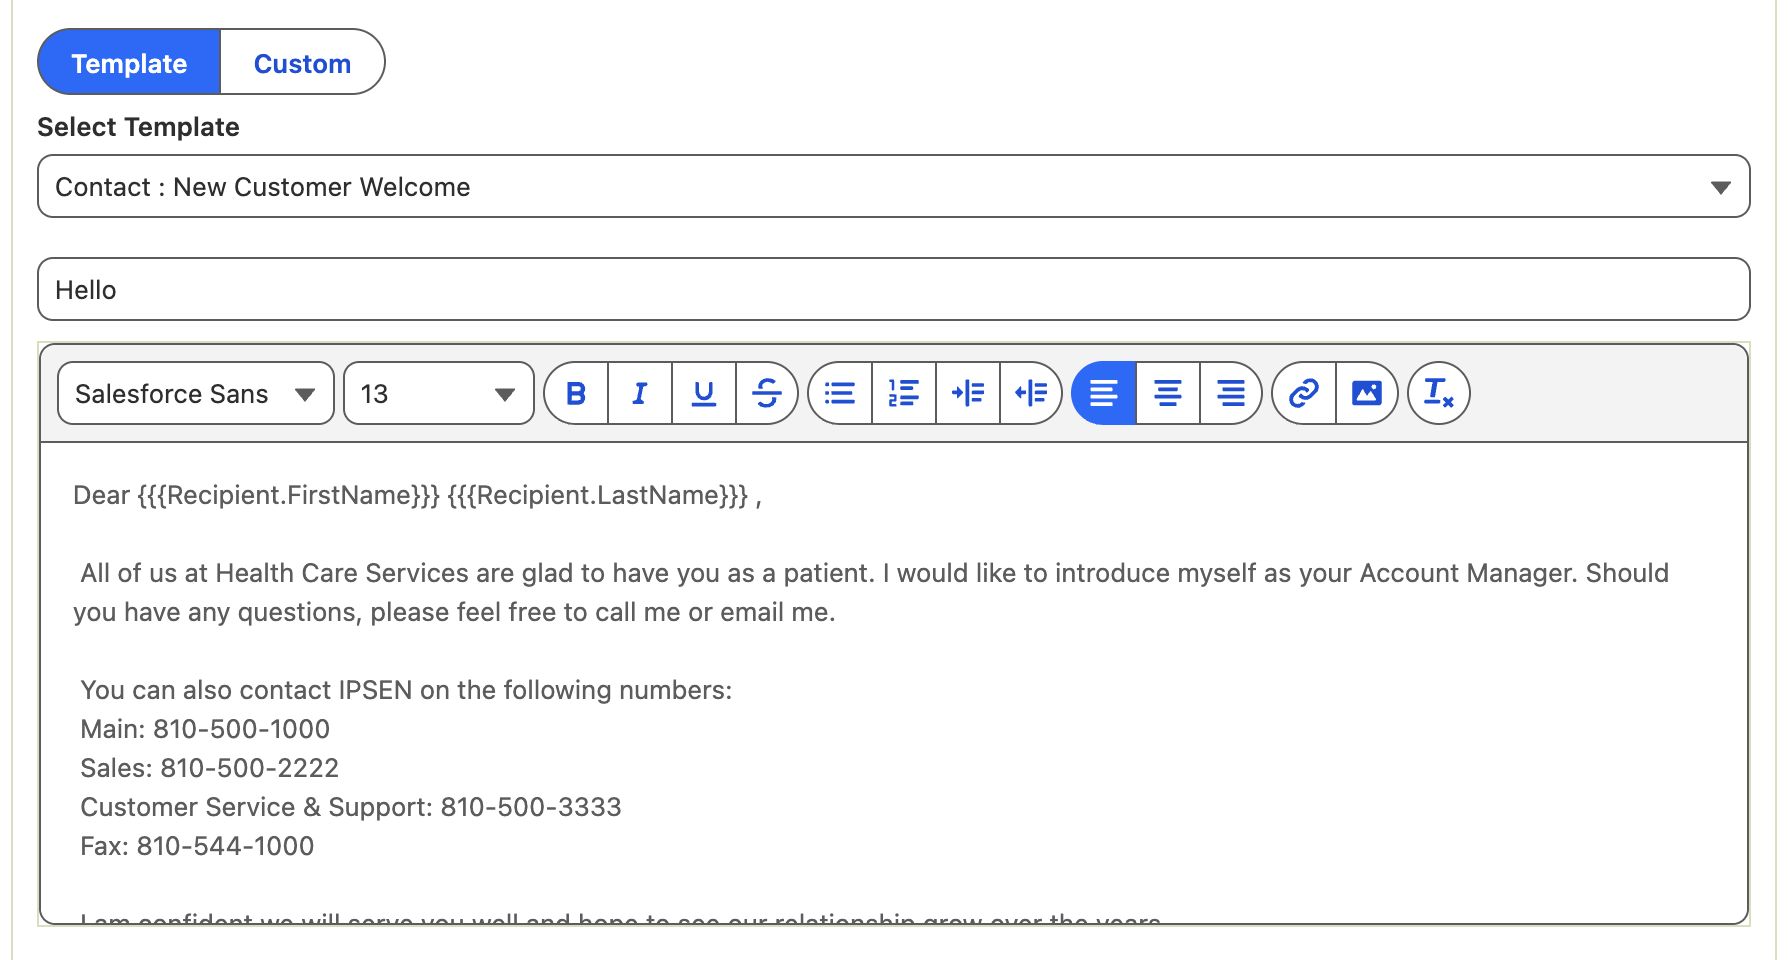
2.7 Choose or Create Email Content
-
Select an existing Lightning Email Template related to the object you’re working with,
or write your own custom email message. -
Merge fields from the same record are supported, allowing you to personalize content.
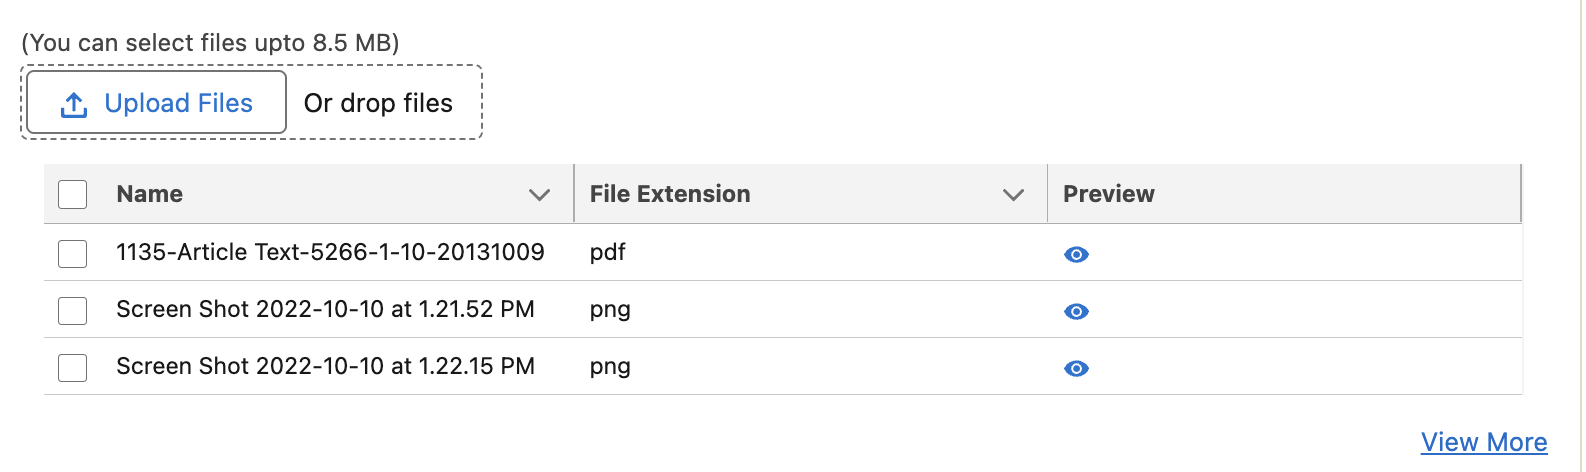
2.8 Attach Files
You can add or remove attachments as needed, up to 8.5 MB in total size.
2.9 Preview the Email
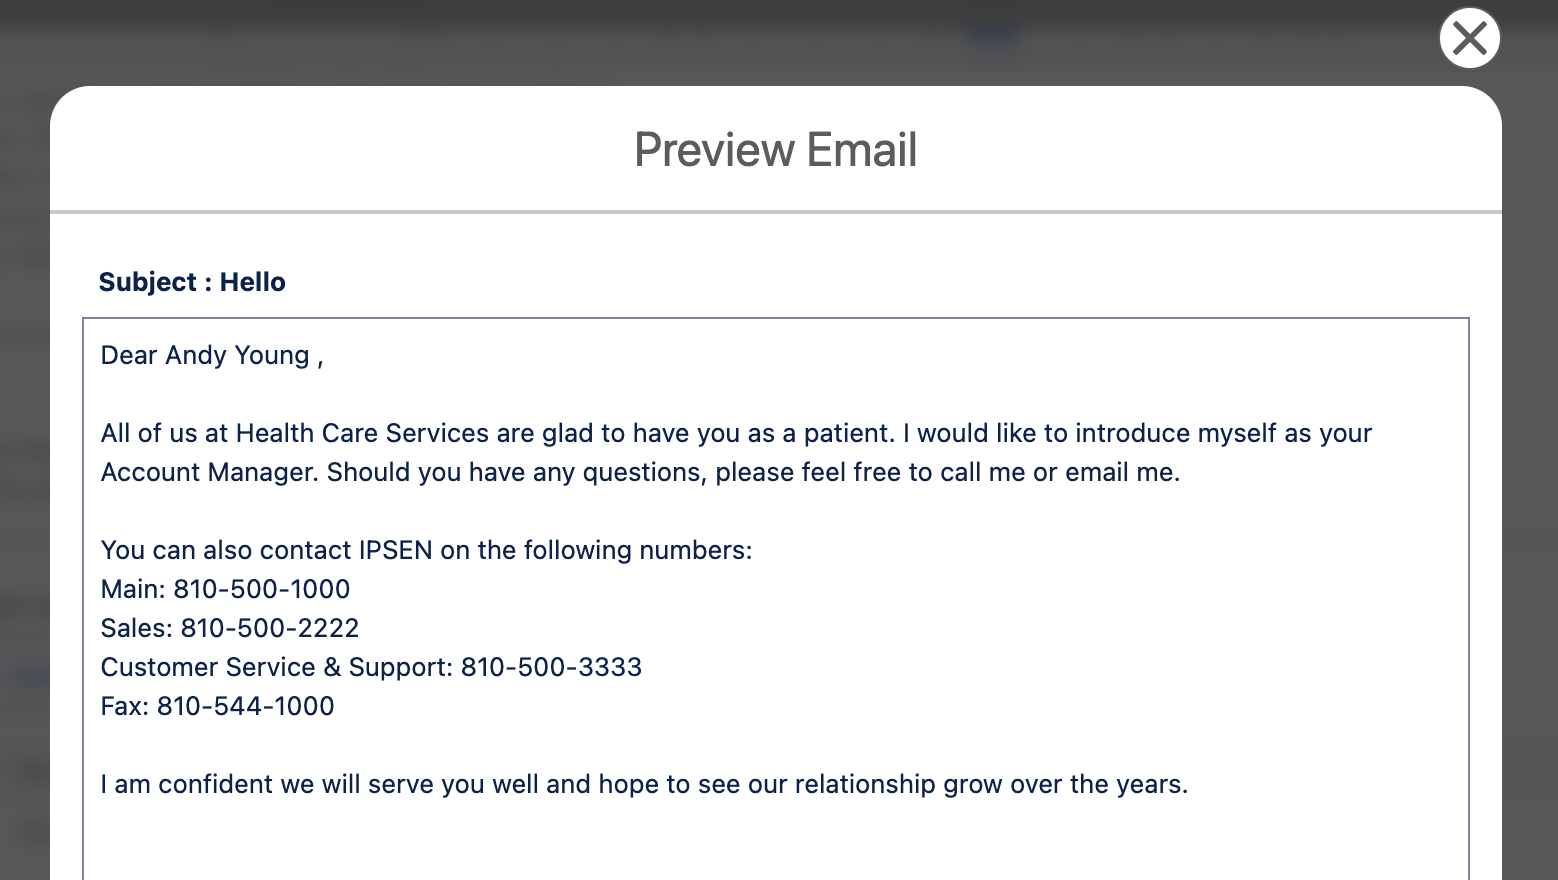
Click Preview to see how the email will look, including all merged values from the record.
2.10 Schedule the Email (Optional)
-
If you want to send the email later, select a scheduled date and time.
-
The system will queue it, and a scheduled batch process will automatically send it at the chosen time.

2.11 Send the Email
Click Send to complete the process.
Viewing Message History
-
Go to the Related tab of the Source Object from where you sent the Secure Email
-
View all messages (sent and received) under Secure Email Messages Related List.

Track Status
You can easily track the status of a Secure Email using the Email Status and Delivery Status fields. Once an email is sent, the system automatically checks its status after a few seconds and updates the delivery and open information.
For emails sent to multiple recipients, the system tracks each recipient separately. This allows you to see whether each recipient received the email.
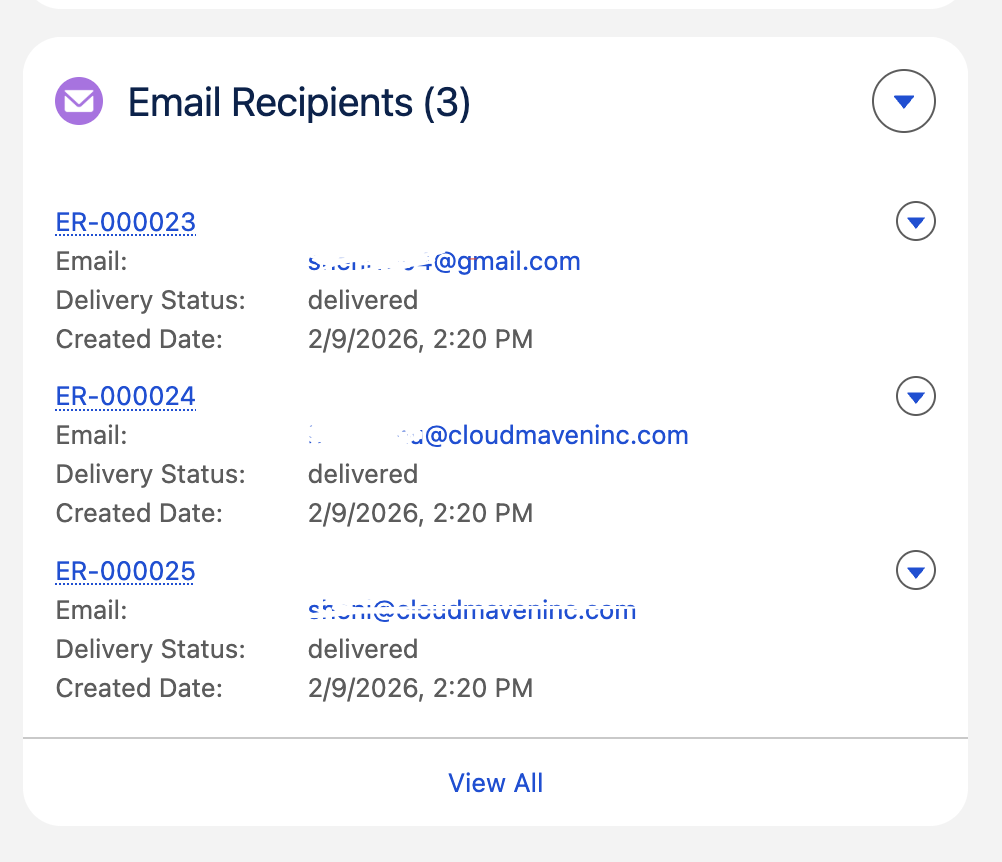
For example, if an email is sent to three recipients and only two of them receive it successfully, the overall Email Status will show “Partially Delivered.” You can then view the individual recipient records to see the delivery and open status for each recipient.
For more information about Secure Email statuses, please refer to the Secure Email Status page.
Note: The Opened Status is tracked only when the email is sent to a single recipient.
Secure Email Inbox and Message Tracking
A Secure Email Inbox is a place where you can view and manage all Secure Email messages you have sent and received. It collects outgoing and incoming emails so you can read, reply, and track conversations in one organized place.
By default we only show 7 days of conversation, This is configurable and can be updated through configurations. Please contact your System administrator to do the same.
-
Navigate to the Secure Email App from App Manager.
-
From the Utility Bar click on the Secure Email Inbox
-
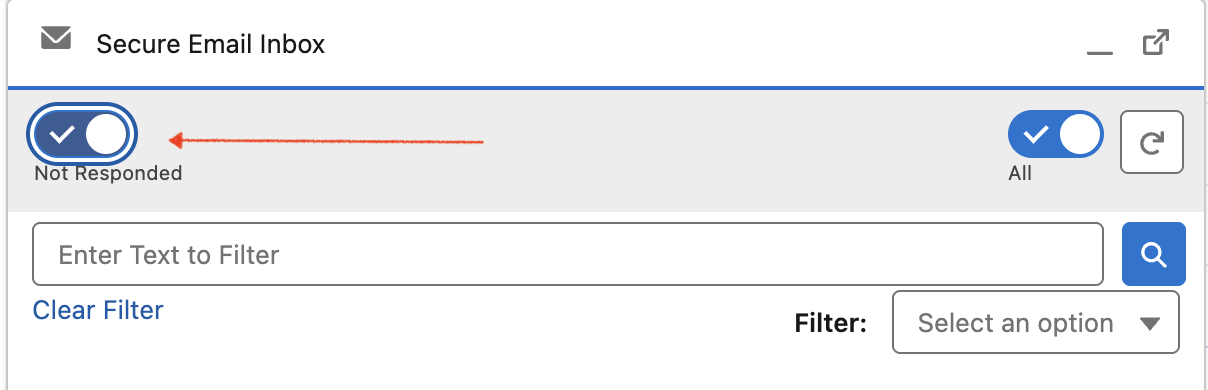
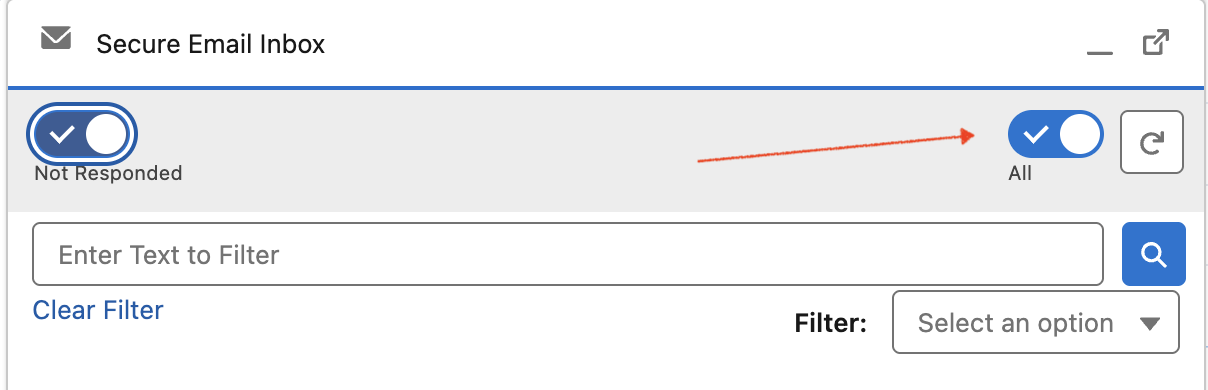
Use the Toggle switch to view Responded/Unresponded Messages. (Default is set to Not Responded Messages)
-
You can also switch between All Messages and My Messages from the highlighted toggle below. (Default is set to All)
-
Option to Refresh Conversations is available.
-
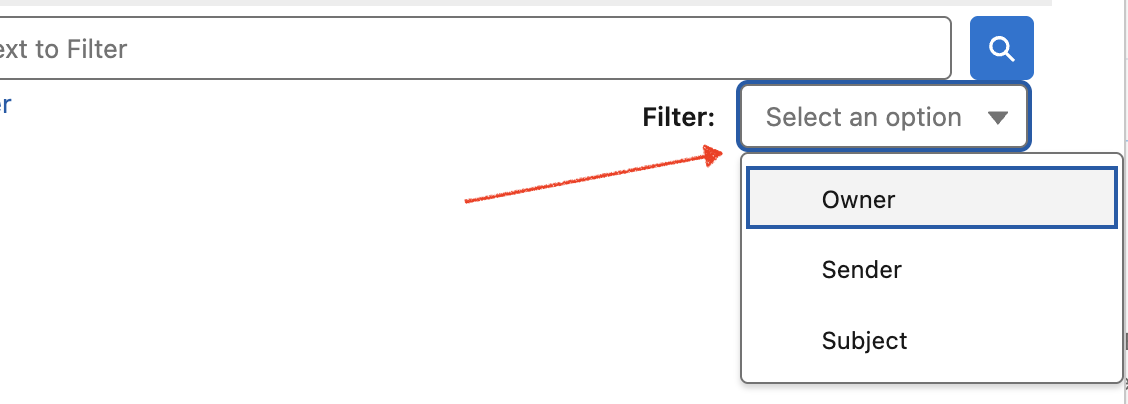
You can filter out the Emails based on the owner, Subject and Sender
-
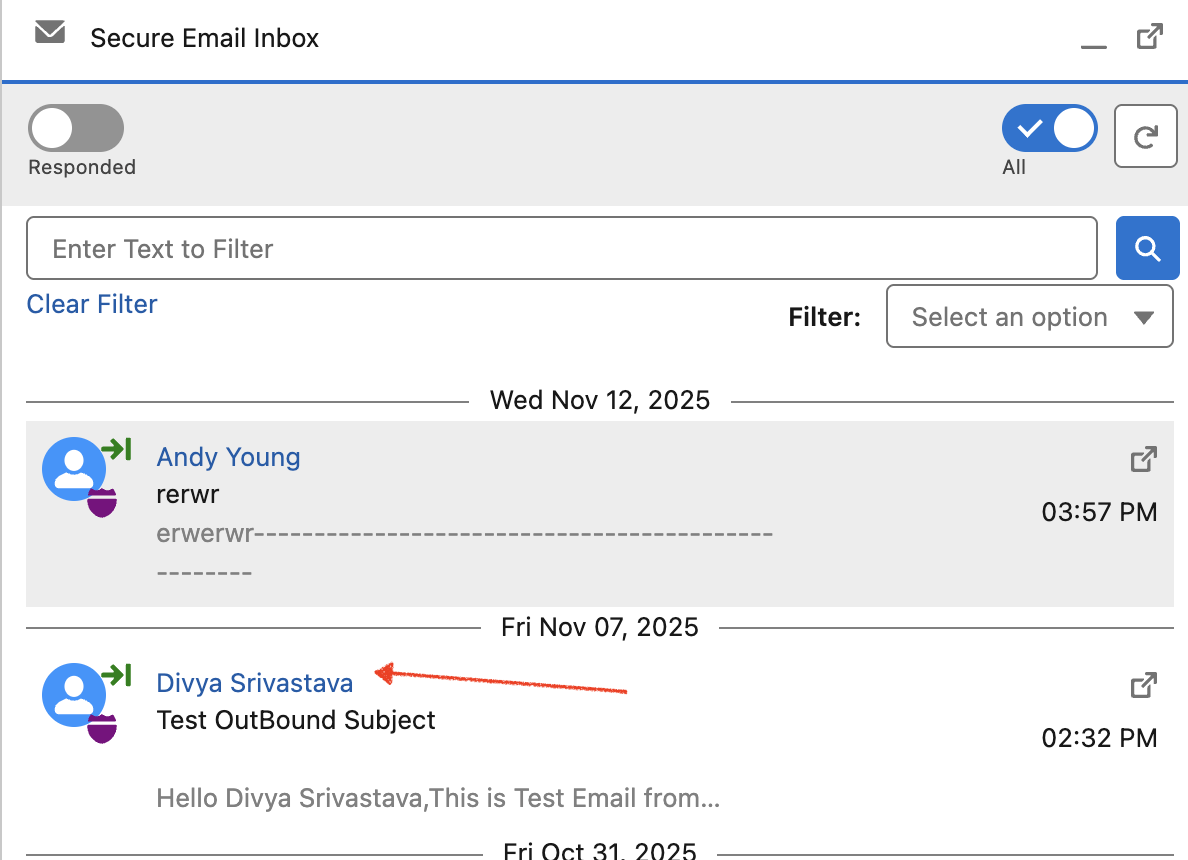
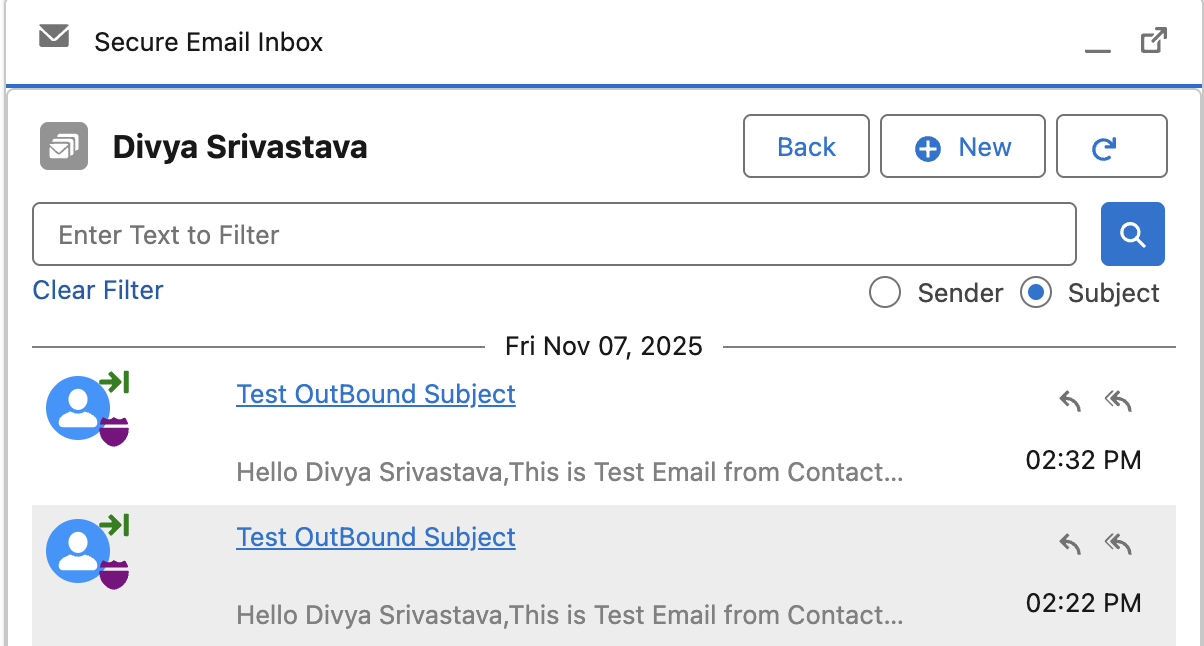
You can view all the Conversations of a customer from the Inbox itself. Click on the customer name. It will open the window which show all the Outgoing/Incoming Emails for that Customer along with the ability to Reply or initiate a new Email.
-
Click on New Email. The same Send Secure Email component gets loaded up where you can send the email.
-
Ability to Navigate to the specific Source Object.