
1. Overview
Payment Connect allows users to schedule payments to be processed at a later date, supporting both Card and ACH (Pay by Bank) payment methods. This is particularly useful for collecting post-dated fees, deposits, or invoice payments without manual intervention on the due date.
2. Log In to Salesforce
➡ Access your Salesforce org with the appropriate credentials.
3. Navigate to the Source Record
Open existing record or create a new one
-
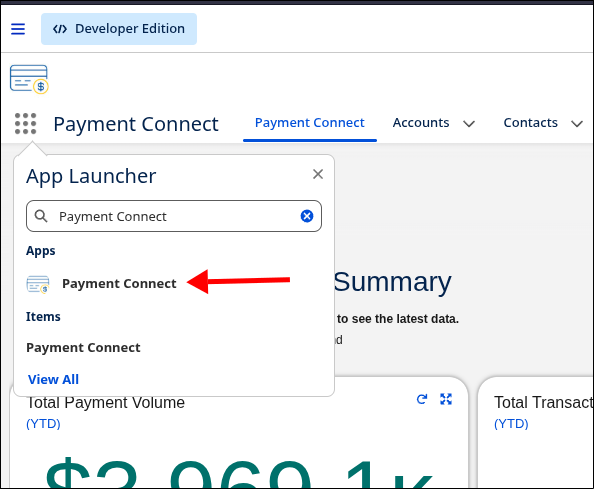
Go to the Payment Connect App
-
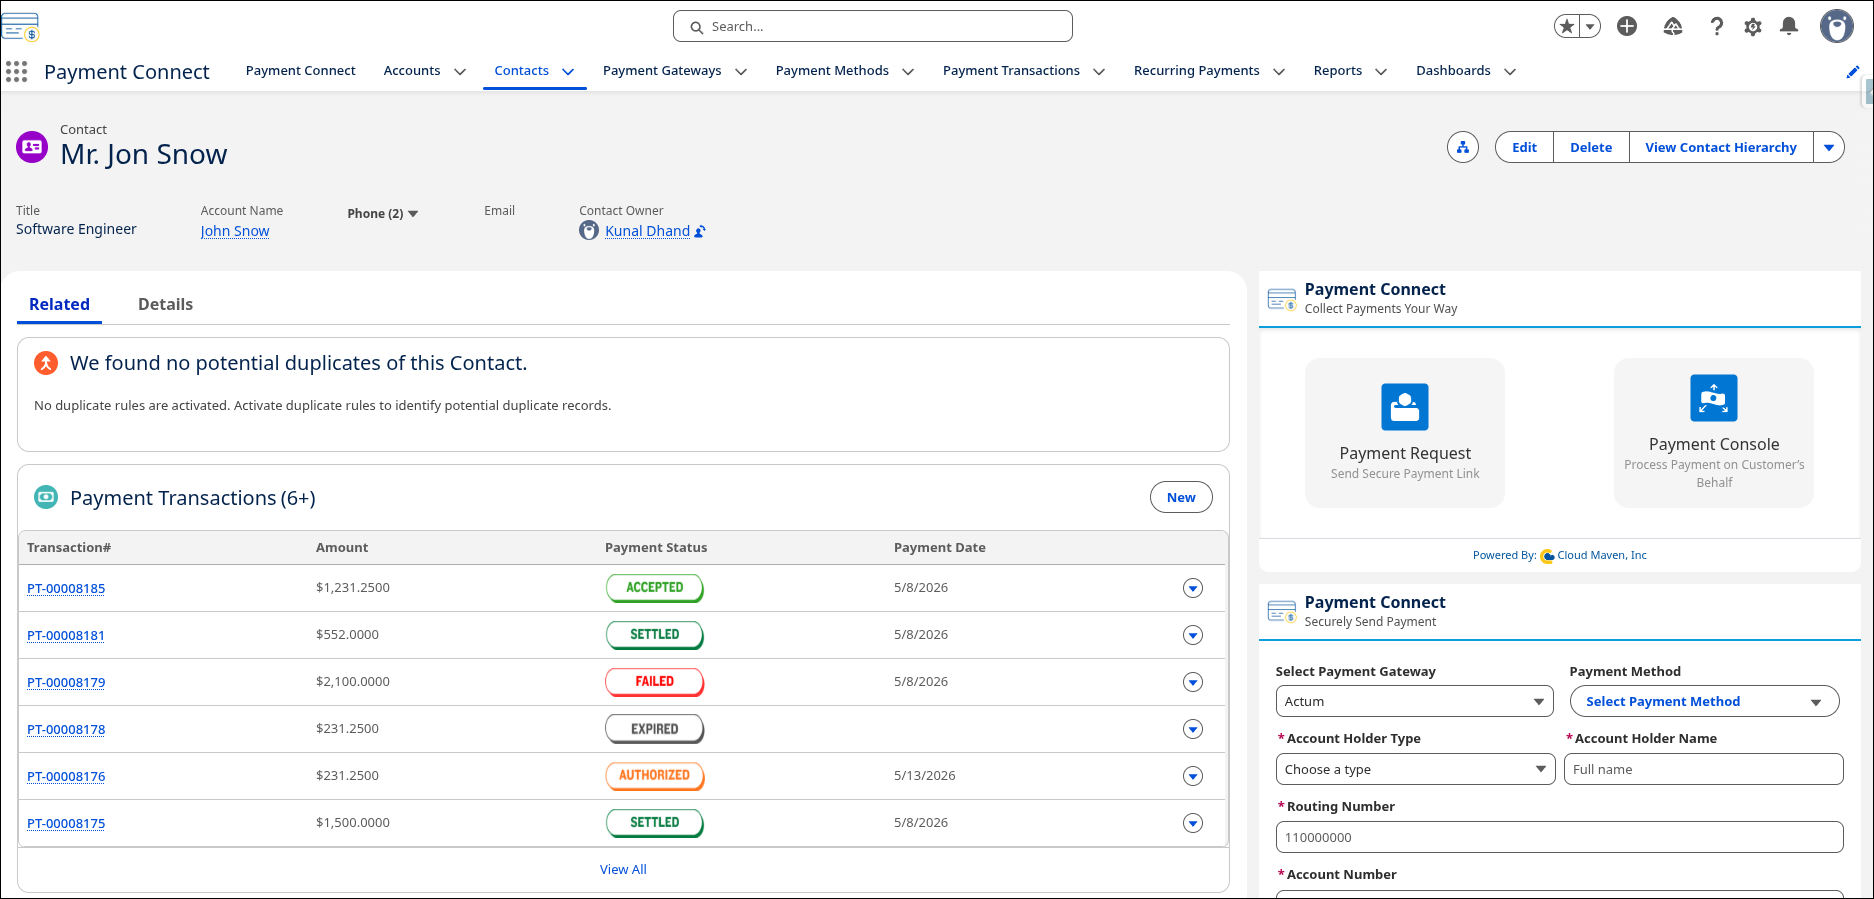
Search for the Record from where you want to initiate the Search.
4. Steps to Use Saved Payment Method
-
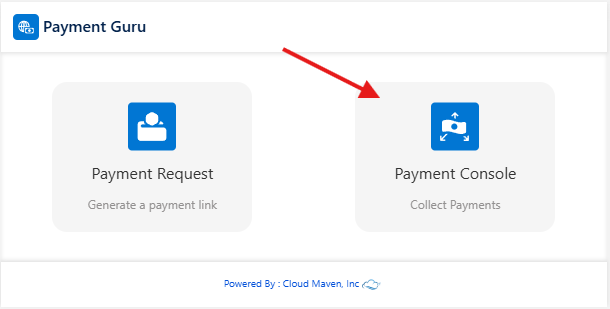
Navigate to the Payment Console screen.
-
Select the Payment Gateway from the dropdown. The gateway marked as default is auto-selected.
-
Fill all the payment details or select any payment method from the drop down.
-
Enter the amount which will be captured in the future.
-
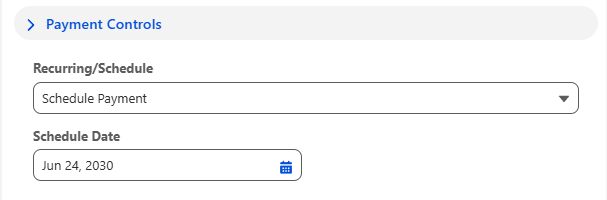
In the Payment Controls section, Select the Schedule payment from the drop down.
-
Set the date on which the payment should be captured.
-
Enter Billing Address if enabled by the gateway.
-
Click Submit Payment.
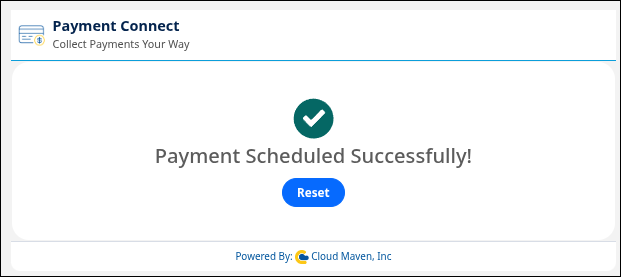
5. What Happens in Salesforce
When a payment is submitted using a saved method, the following processes and records are created automatically:
5.1 Payment Transaction Record Created
A new Payment Transaction record is generated with:
-
Linked with Payment Method ID.
-
Associated with Parent Record ID.
-
Amount which will be captured.
-
Future payment date on which the payment will be processed.
-
Payment Status will be Authorized.
-
Payment Gateway ID will be linked
5.2 New Payment method created
If no existing payment method is created then the new payment method record will be created with the following data:
-
Double Encrypted Account/card details.
-
Status will be Active.
-
Payment mode(like credit card or checking account).
-
User Full Name.
5.3 Batch To Capture Schedule Payment
-
On the scheduled date:
-
The
BatchCaptureScheduledPaymentbatch job picks up due transactions. -
It calls the Capture API to process the payment.
-
If successful, the Payment Status is updated to
Accepted/Captured.
-