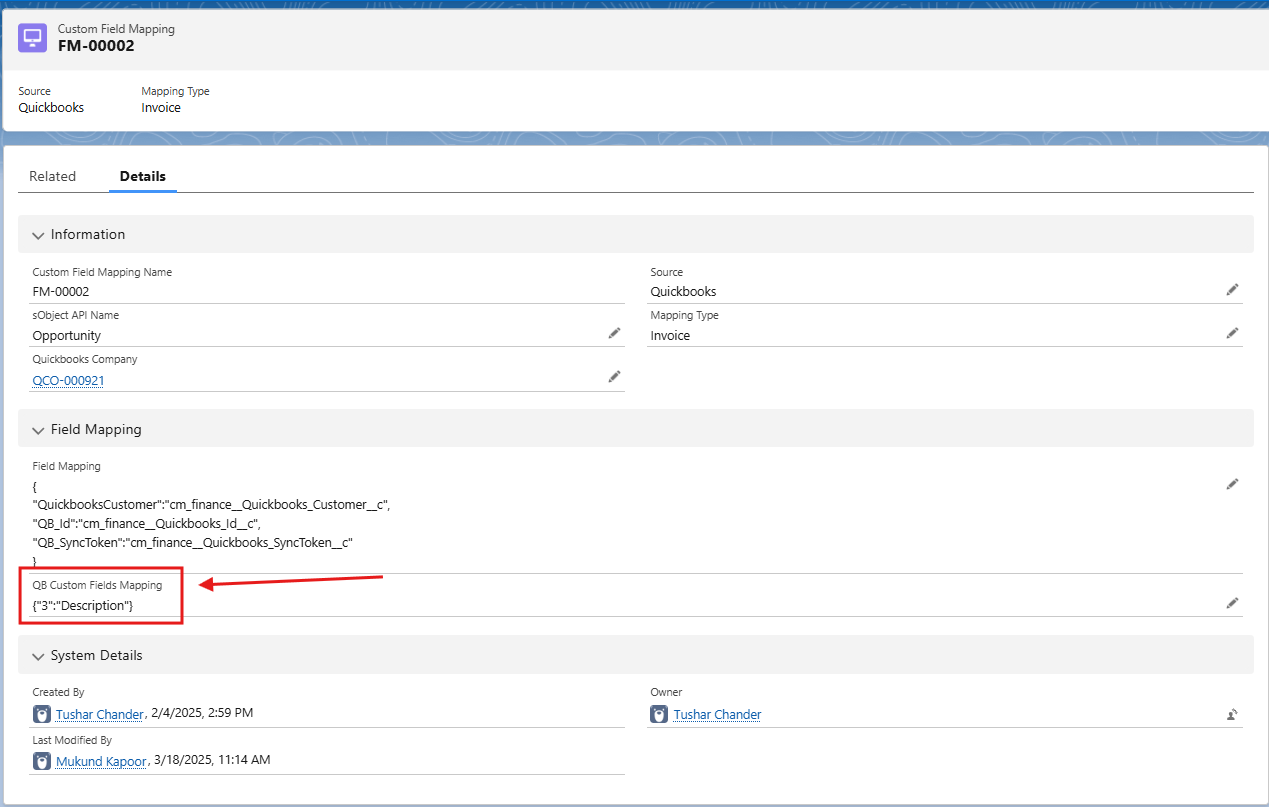
The QuickBooks Connector app supports custom field integration, enabling businesses to fetch custom fields from invoices and map them directly with Salesforce fields. This feature enhances data synchronization, allowing for seamless customization and better management of business-specific information across both platforms.
Fetching Custom Fields from QuickBooks
To fetch custom fields from QuickBooks, follow these steps:
-
Navigate to the Quickbooks Connect Admin Setup page.
-
Click on Data Synchronization.
-
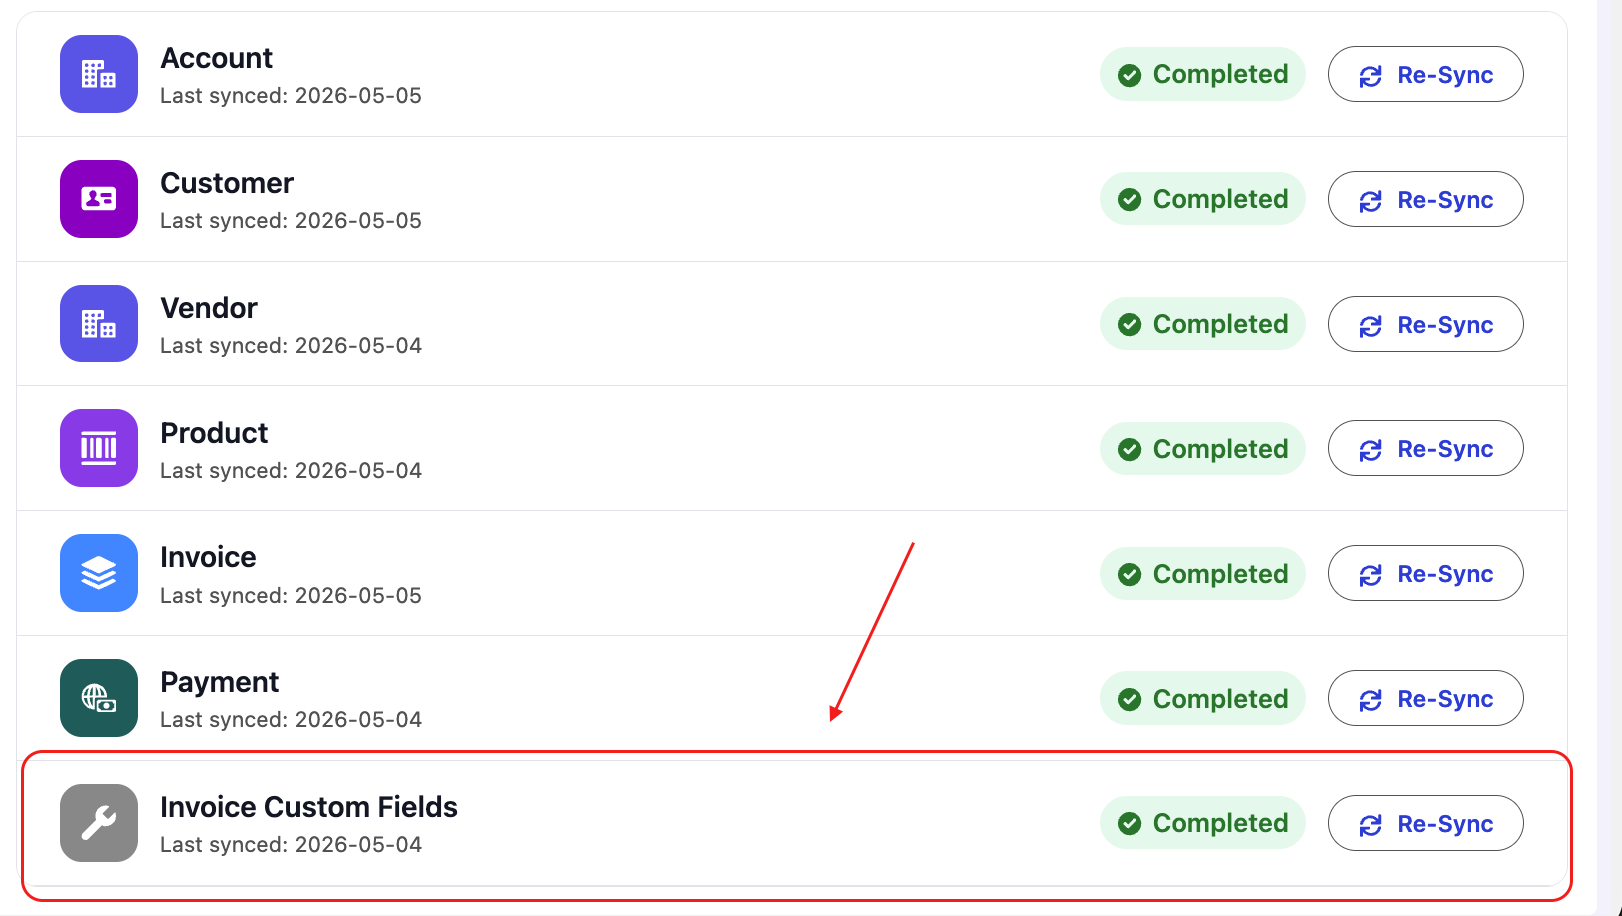
Click on Custom Fields fetch button as shown in the screenshot.
-
This will initiate the process of fetching custom fields. Once complete, you will see the custom field records under the QuickBooks Custom Fields tab.

Mapping Custom Fields with Salesforce Fields
To map Salesforce fields with QuickBooks custom fields, follow the steps below:
-
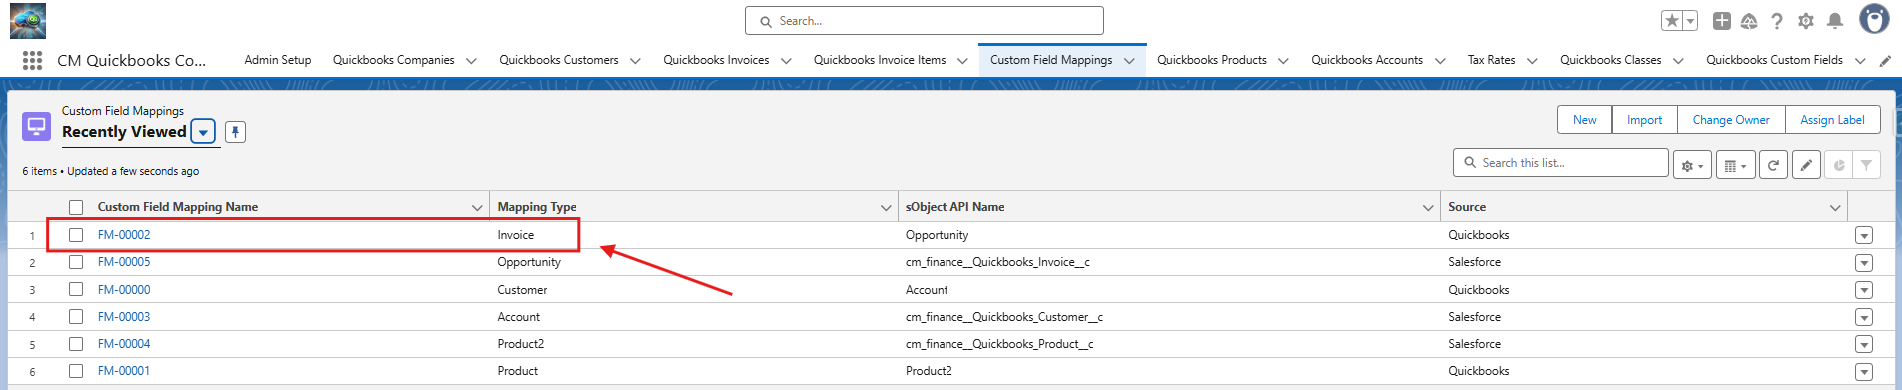
Go to Custom Fields Mapping Records.
-
Click on the record where the Mapping Type is set to ‘Invoice’.
-
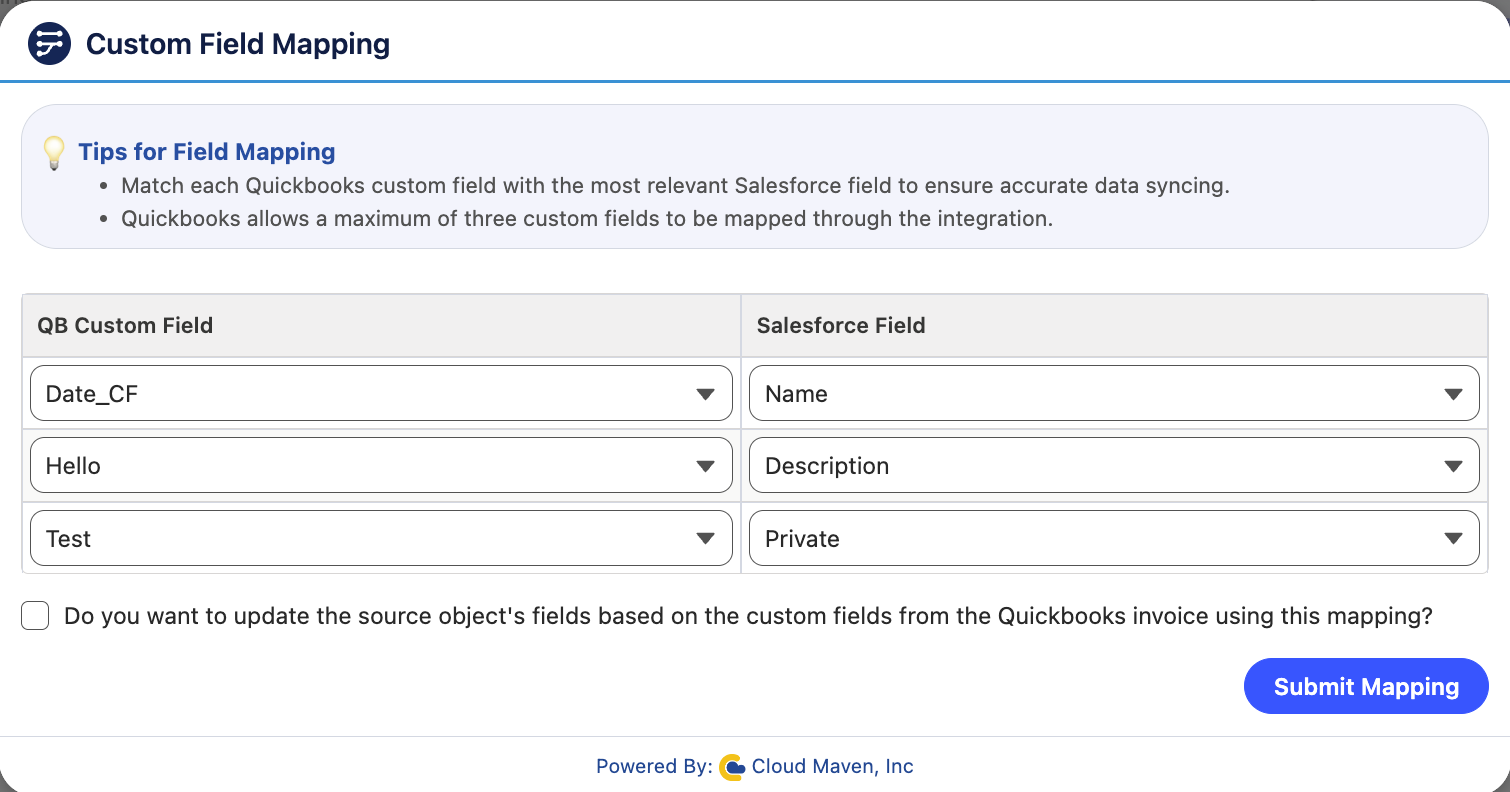
Click on the Map Custom Fields button to open the mapping screen.
Note: Make sure you have completed the "Fetching Custom Fields from QuickBooks" step, as you will need those fields to map them to Salesforce.
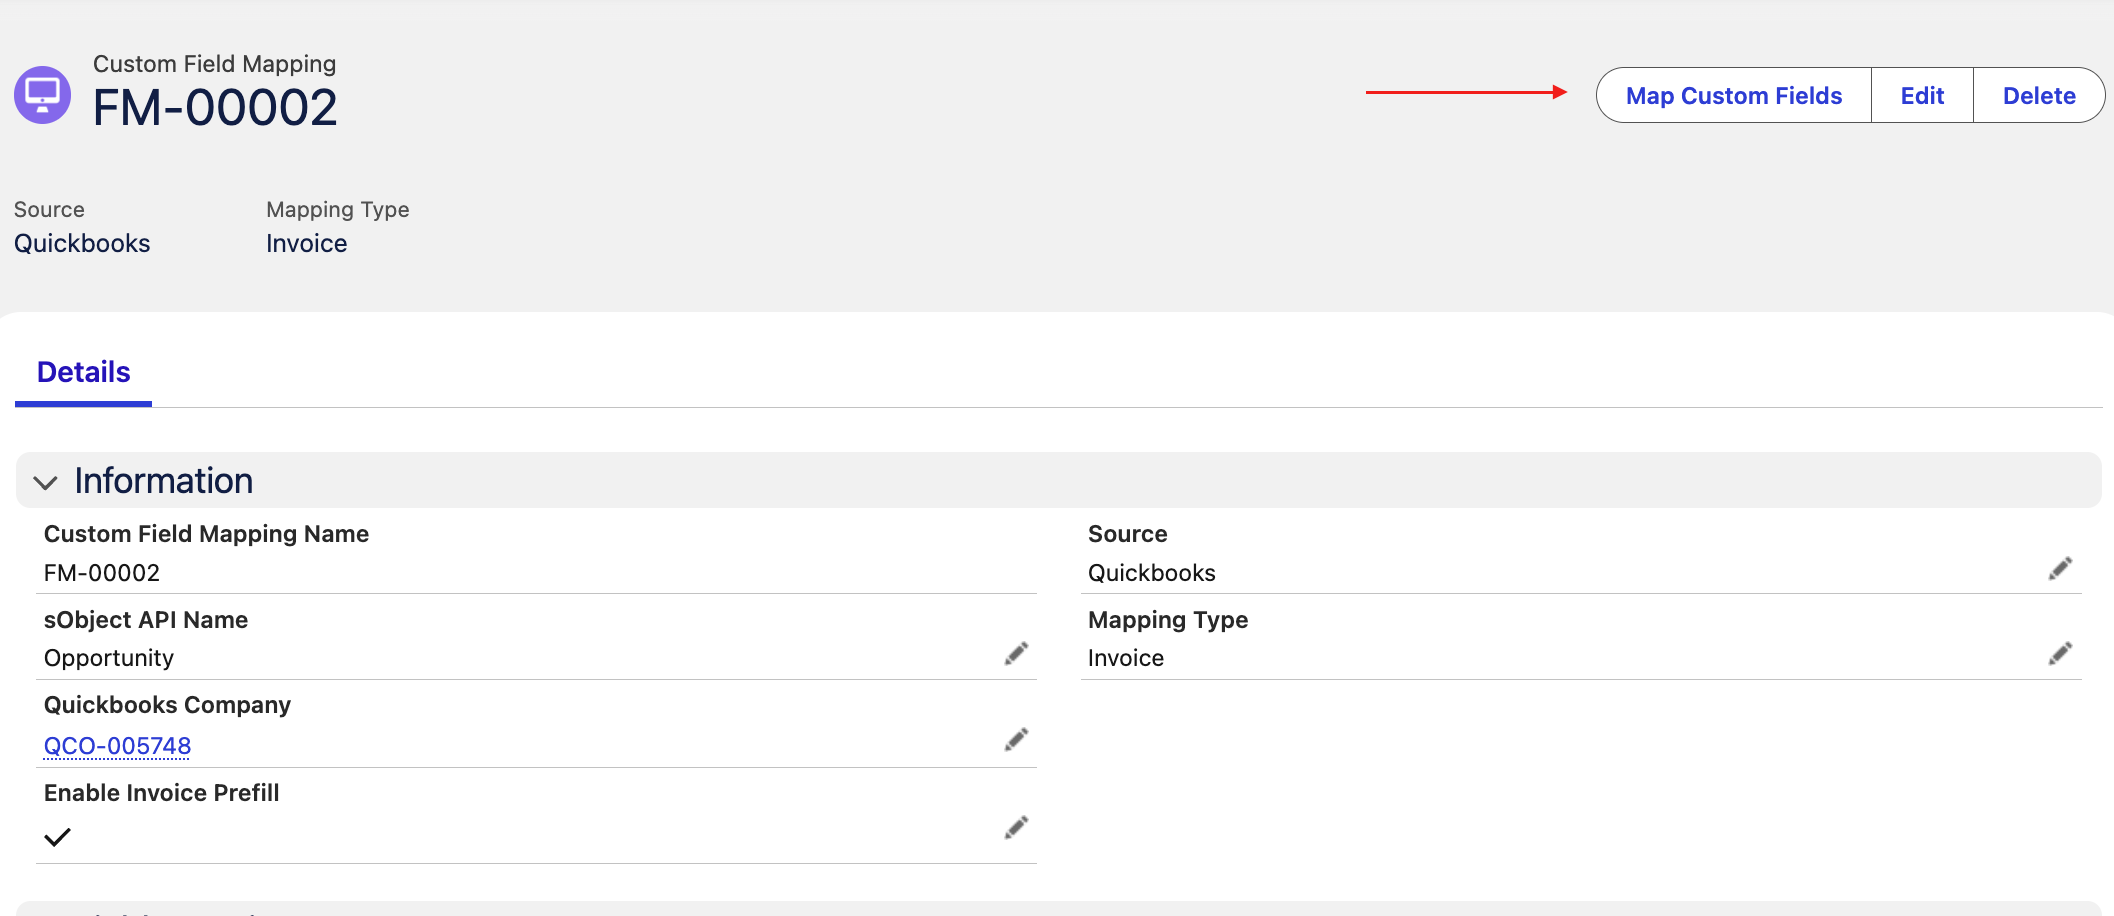
On the mapping screen, you will see:
-
QuickBooks Custom Fields on the left.
-
Source Object Fields on the right.
-
If you want to update the reverse field mapping (i.e., mapping used to update the parent record, such as Opportunity, from the QuickBooks Invoice record), you can select the checkbox provided.
Once you've mapped the fields, click the Submit Mapping button to save the changes and you will see the mapping in the form of JSON as shown below.