
QuickBooks Sync
To create a Bill in QuickBooks for a Salesforce record, use the QuickBooks Sync action, as shown below:
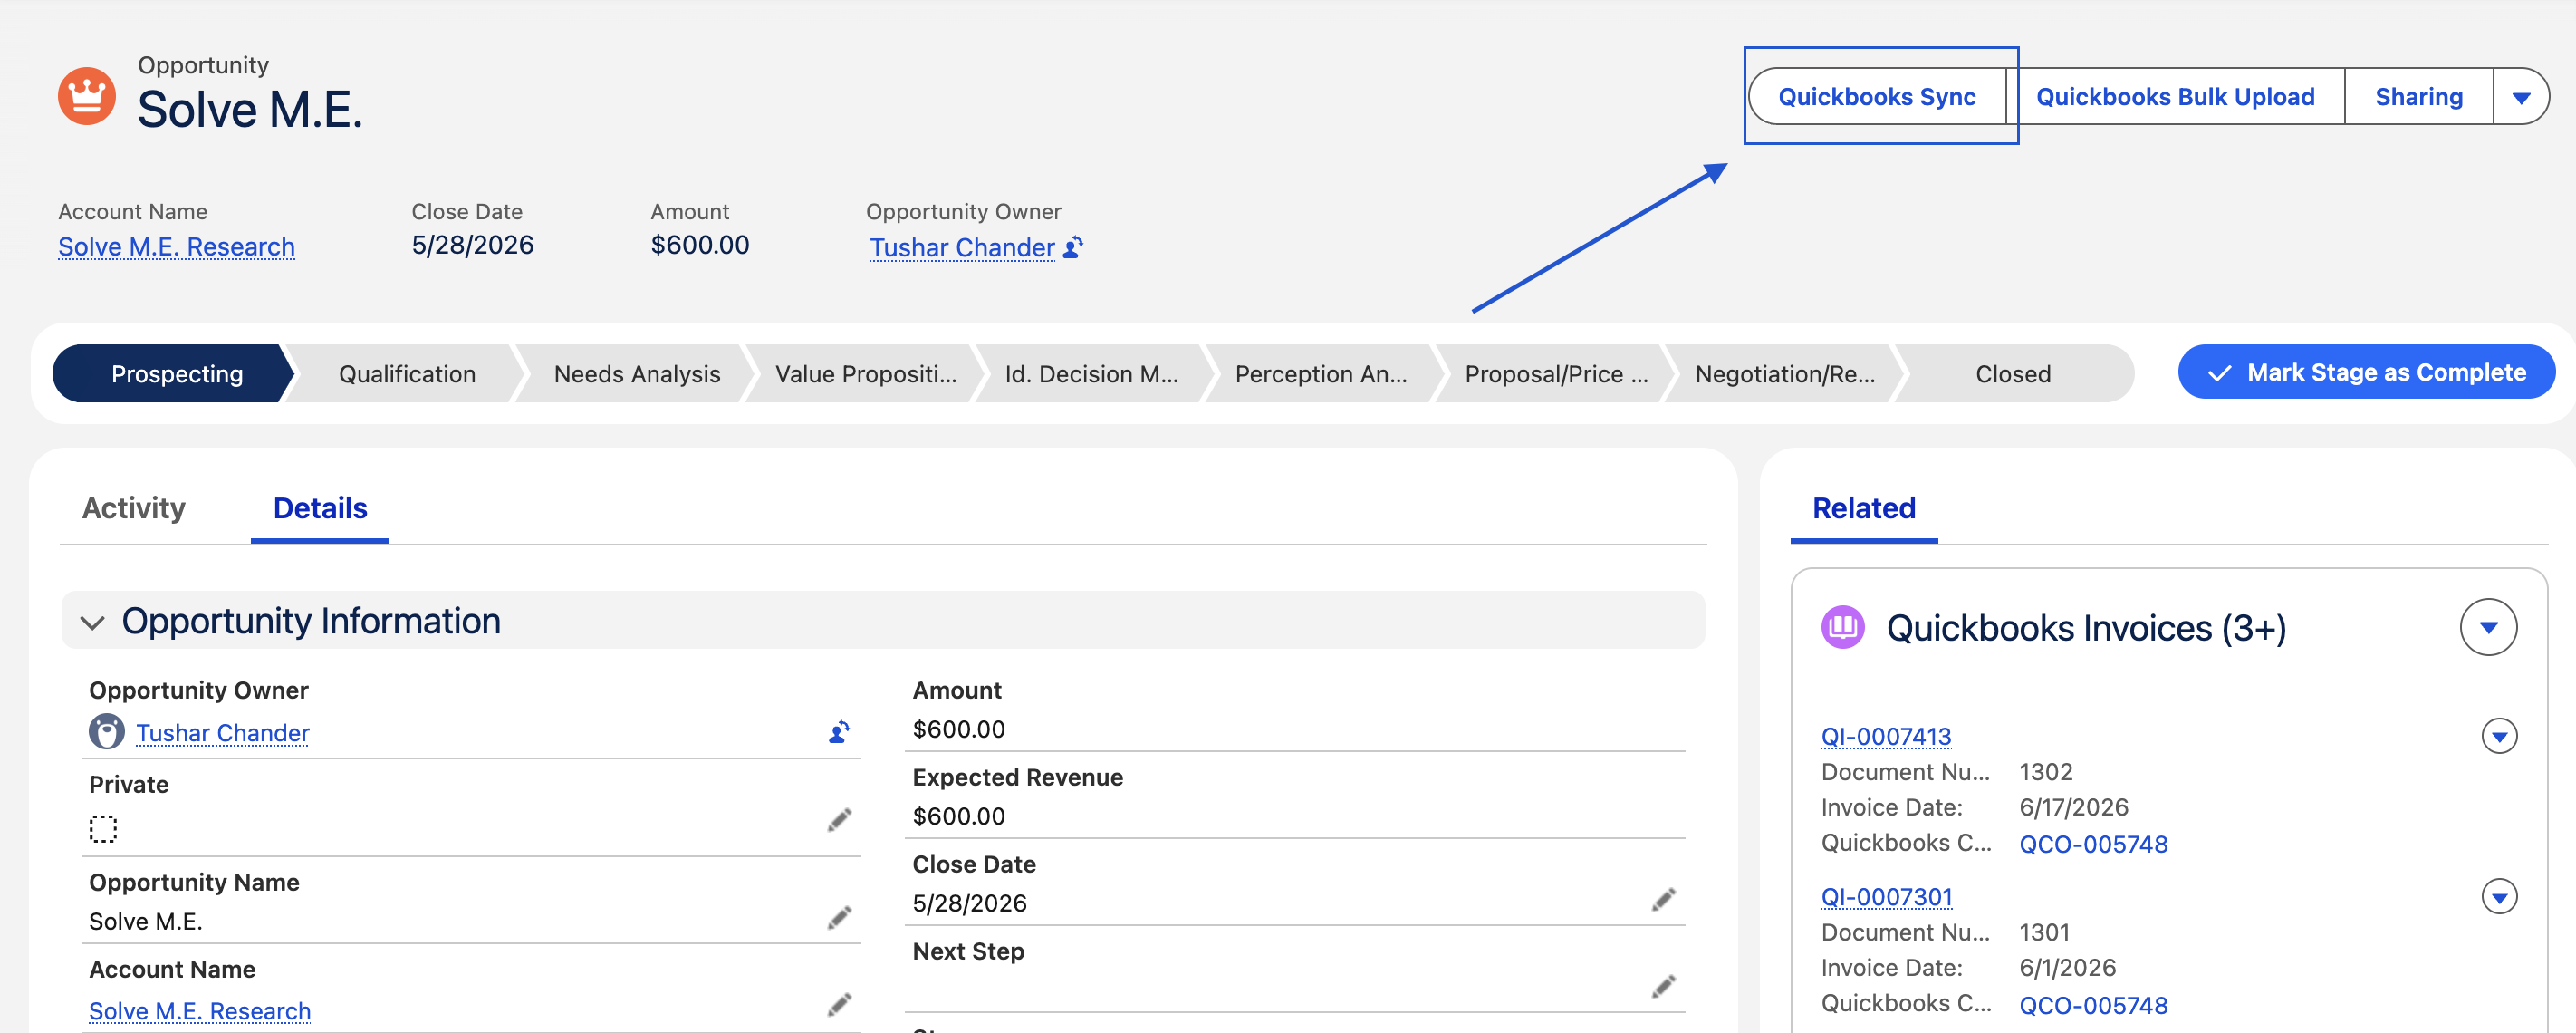
1. Sync Process for QuickBooks Bill
Navigate to the record where the QuickBooks Bill source object is configured (the Salesforce object mapped to QuickBooks Bill in Section 1 of the Client Prerequisite & On-Boarding Form).
1.1 Creating a Bill in QuickBooks
-
Click the Quickbooks Sync action on the record.
-
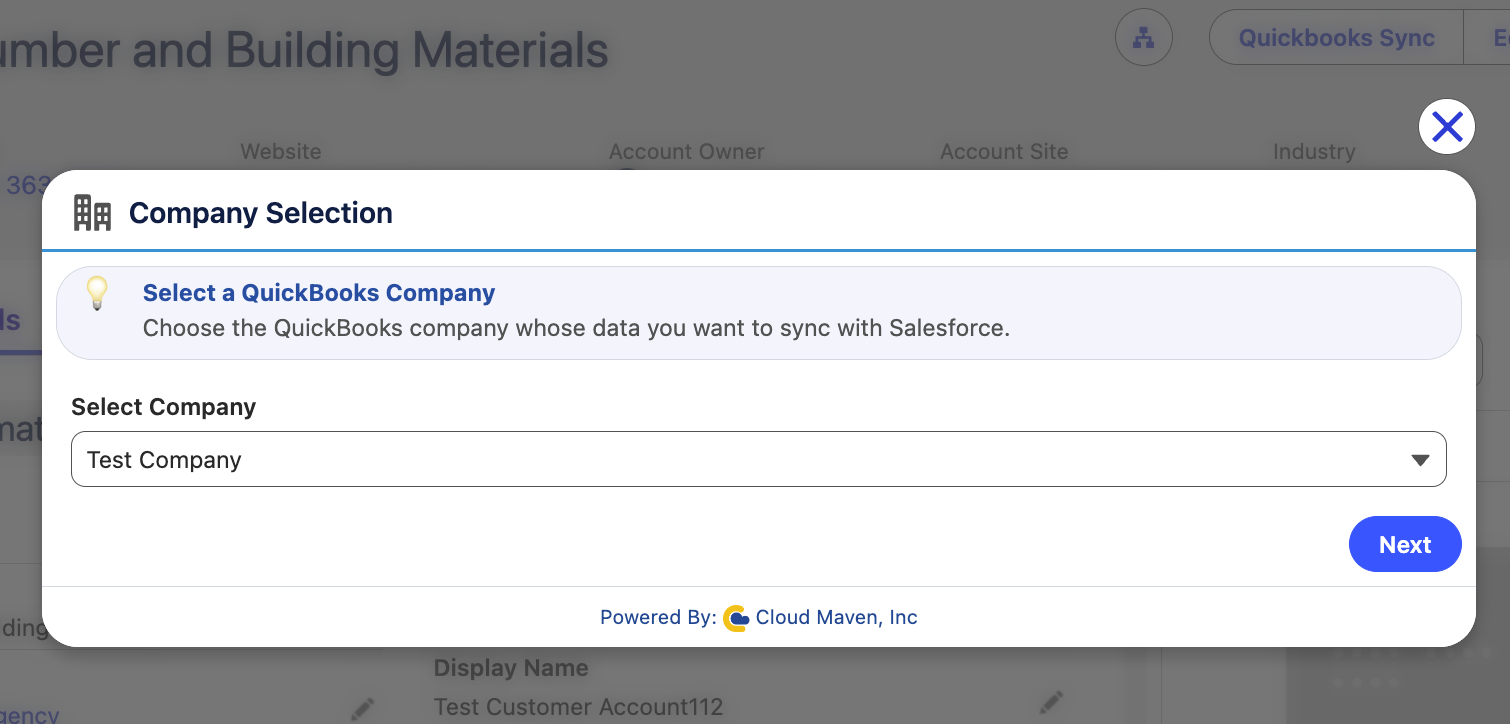
Select the desired Company, if multiple QuickBooks companies are connected and active. If only one company is connected, this screen is skipped.
-
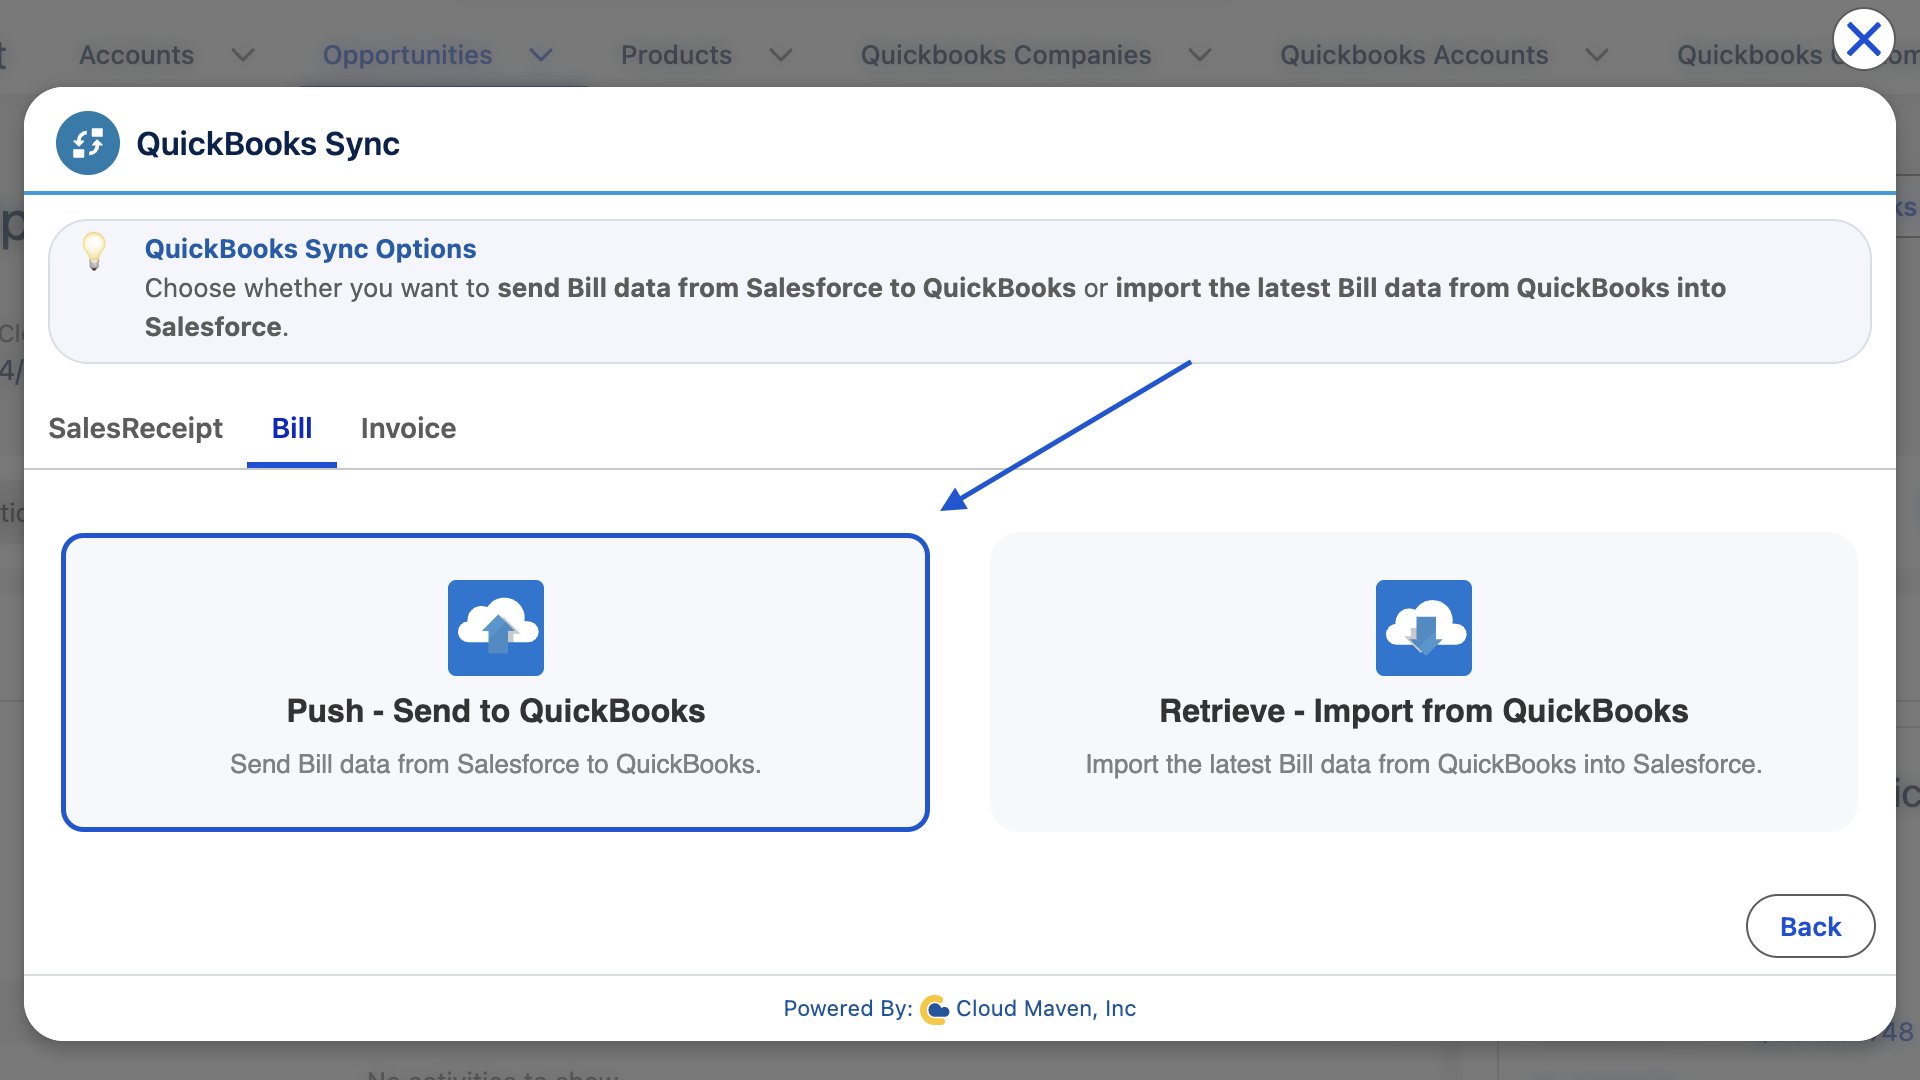
Click on “Push - Send to QuickBooks” to send data of Salesforce record to QuickBooks to create a new QuickBooks Bill record.
-
QuickBooks Connect resolves the related QuickBooks Vendor automatically using the Vendor Lookup Field configured for Bills.
-
If a matching QuickBooks Vendor is found, you're taken directly to the Bill Creator screen with the Vendor details pre-filled.
-
If no matching Vendor record exists yet, you'll be prompted: "No related Quickbooks Vendor found. Create Vendor in QuickBooks now?" Choosing Yes creates the Vendor in QuickBooks and Salesforce, then continues to the Bill Creator. Choosing No cancels the action.
-
-
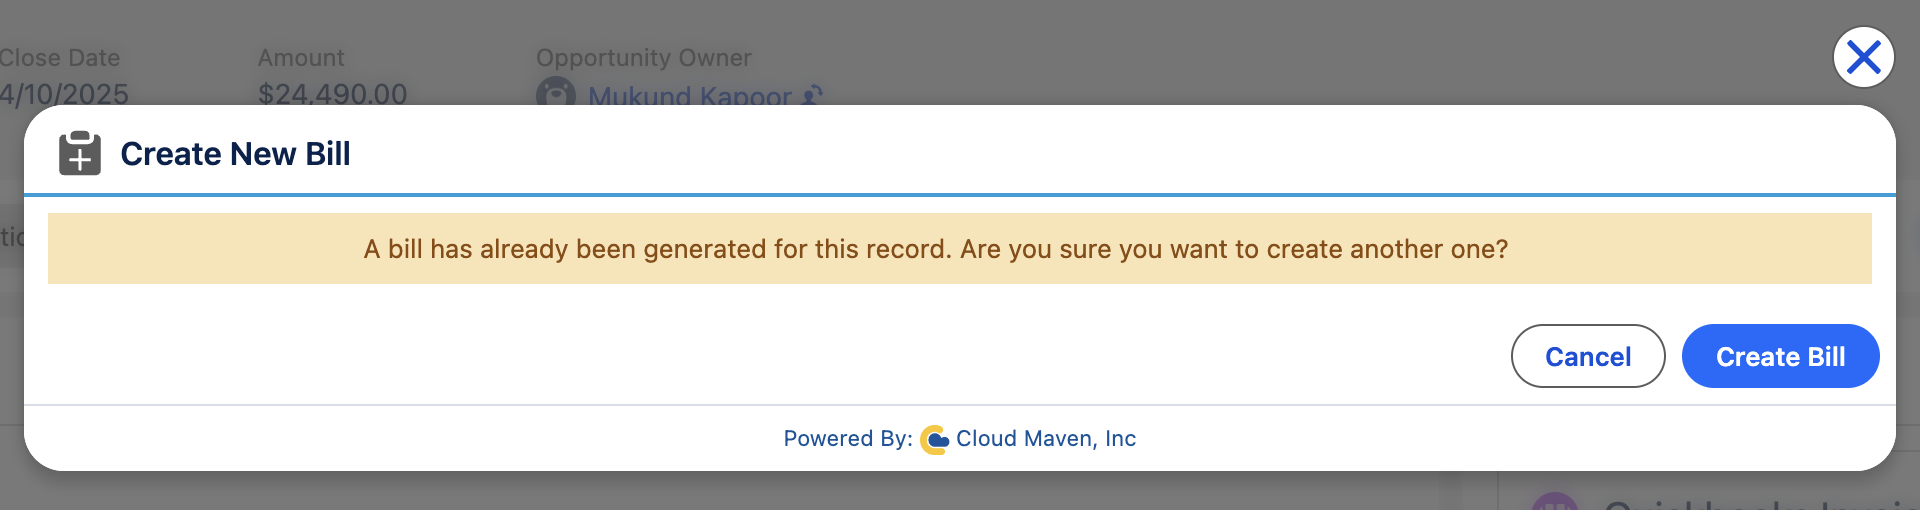
If a Bill already exists for this record under the selected company, you'll see a message indicating that, with the option to create another Bill for the same record.
-
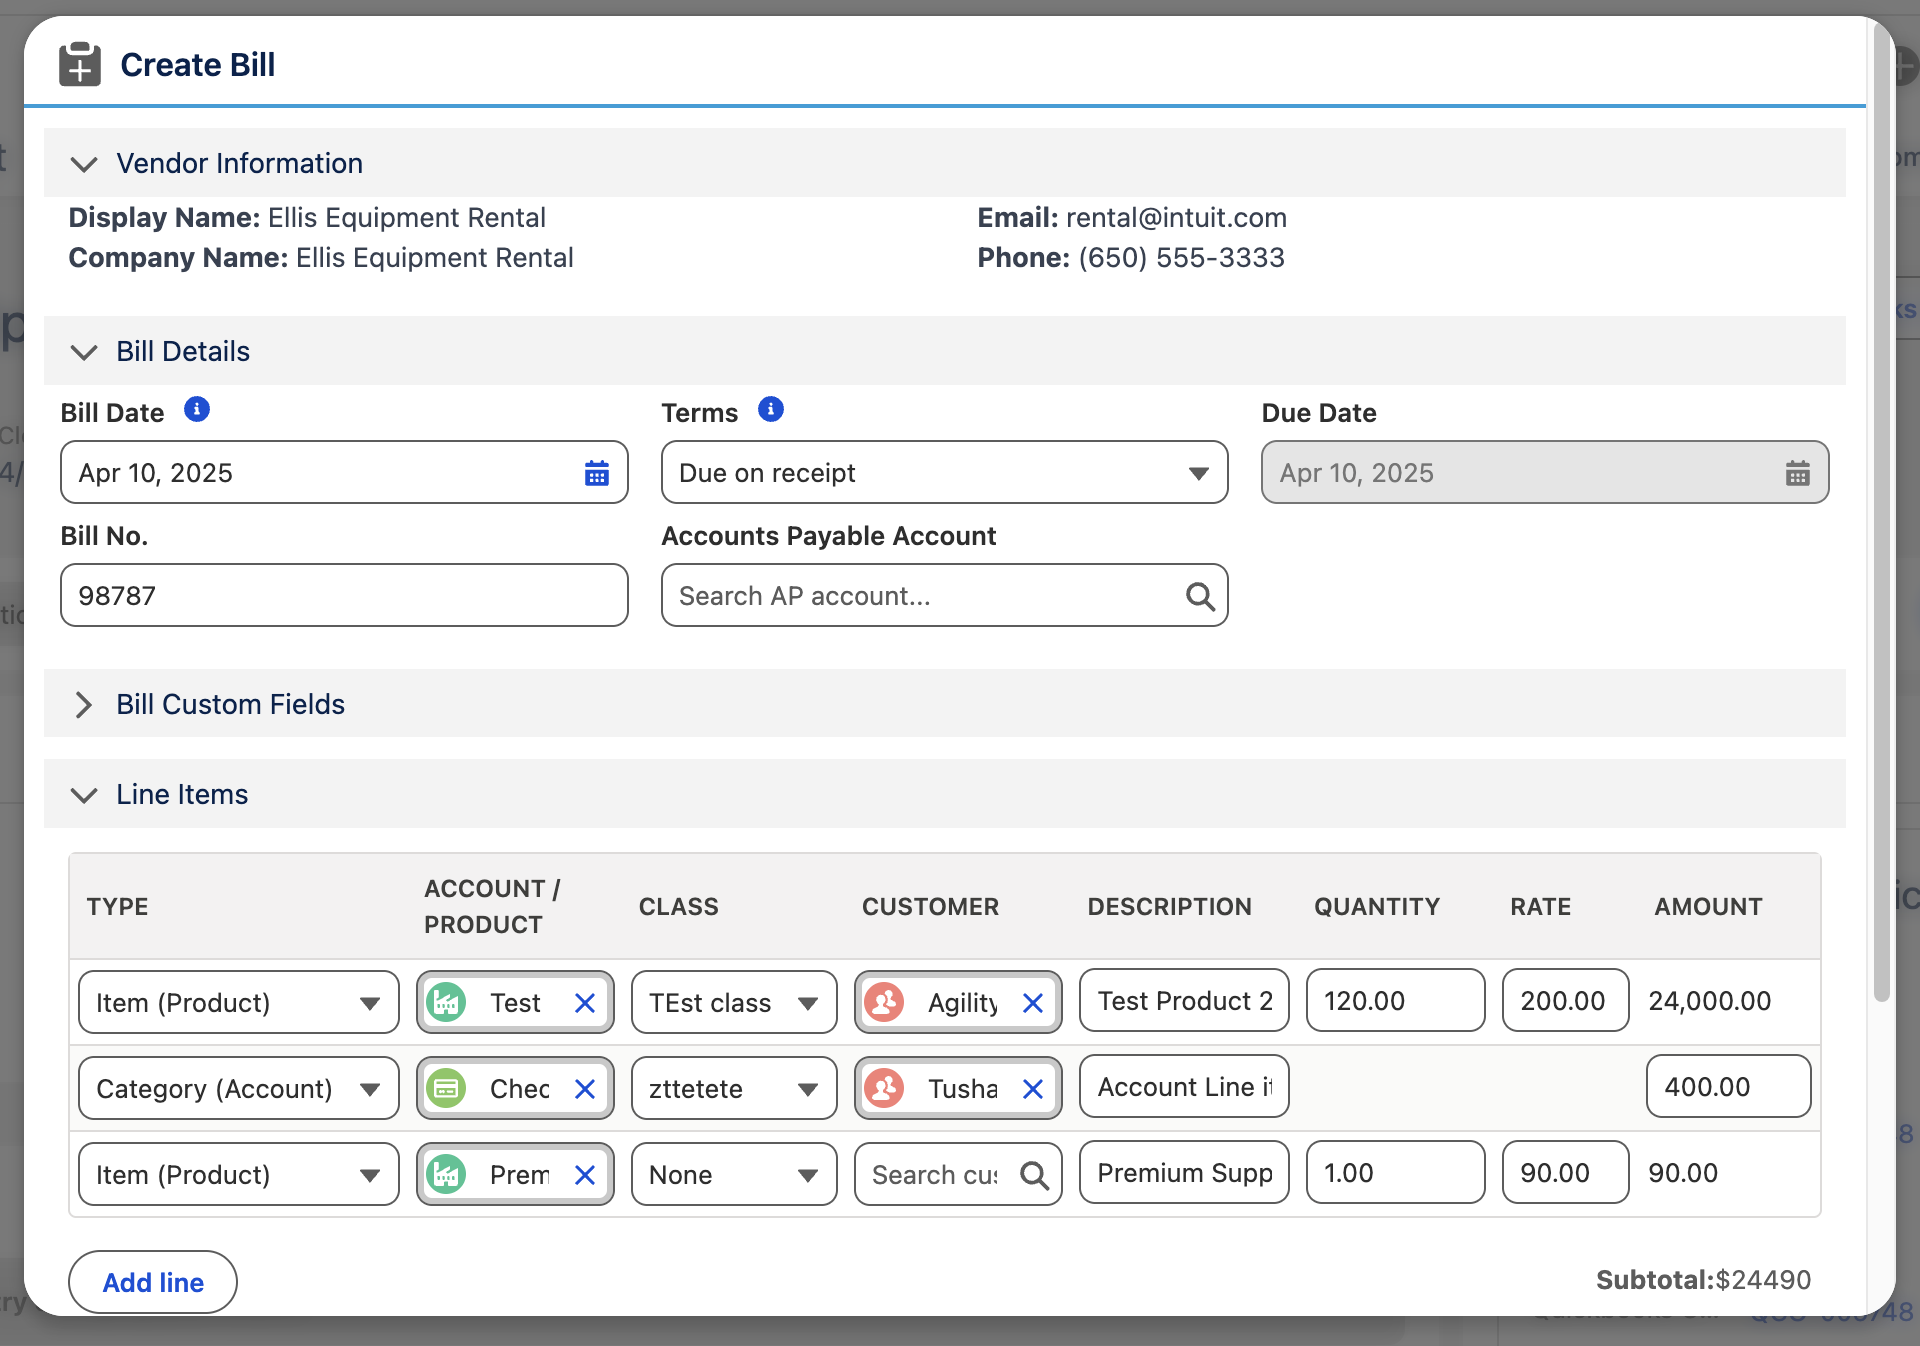
On the Bill Creator screen, review or complete the following:
Vendor Information
-
Vendor Name and Company Name — auto-populated from the resolved QuickBooks Vendor (read-only)
Bill Details
-
Bill Date — defaults to today's date
-
Terms — defaults to Net 30; changing it automatically recalculates the Due Date
-
Due Date — auto-calculated from Bill Date + Terms, but remains editable
-
Doc/Reference Number
-
AP (Accounts Payable) Account — select from your Chart of Accounts, filtered to Accounts Payable–type accounts only
-
Private Note (memo)
-
Any custom fields mapped for Bills, if configured
Line Items
For each line, choose a Line Type:
-
Category (Account) — select a GL Account, then enter a Description and Amount
-
Item (Product) — select a Product, then enter Description, Quantity, and Unit Price; the line Amount is calculated automatically (Quantity × Unit Price)
Optionally, on any line:
-
Select a QuickBooks Class, if classes are configured for the company
-
Select a Customer, to mark the expense line as billable/re-invoiceable to that Customer
Click Add Line to add more line items. The Subtotal updates automatically as amounts are entered.
-
Click Create Bill to send the data to QuickBooks.
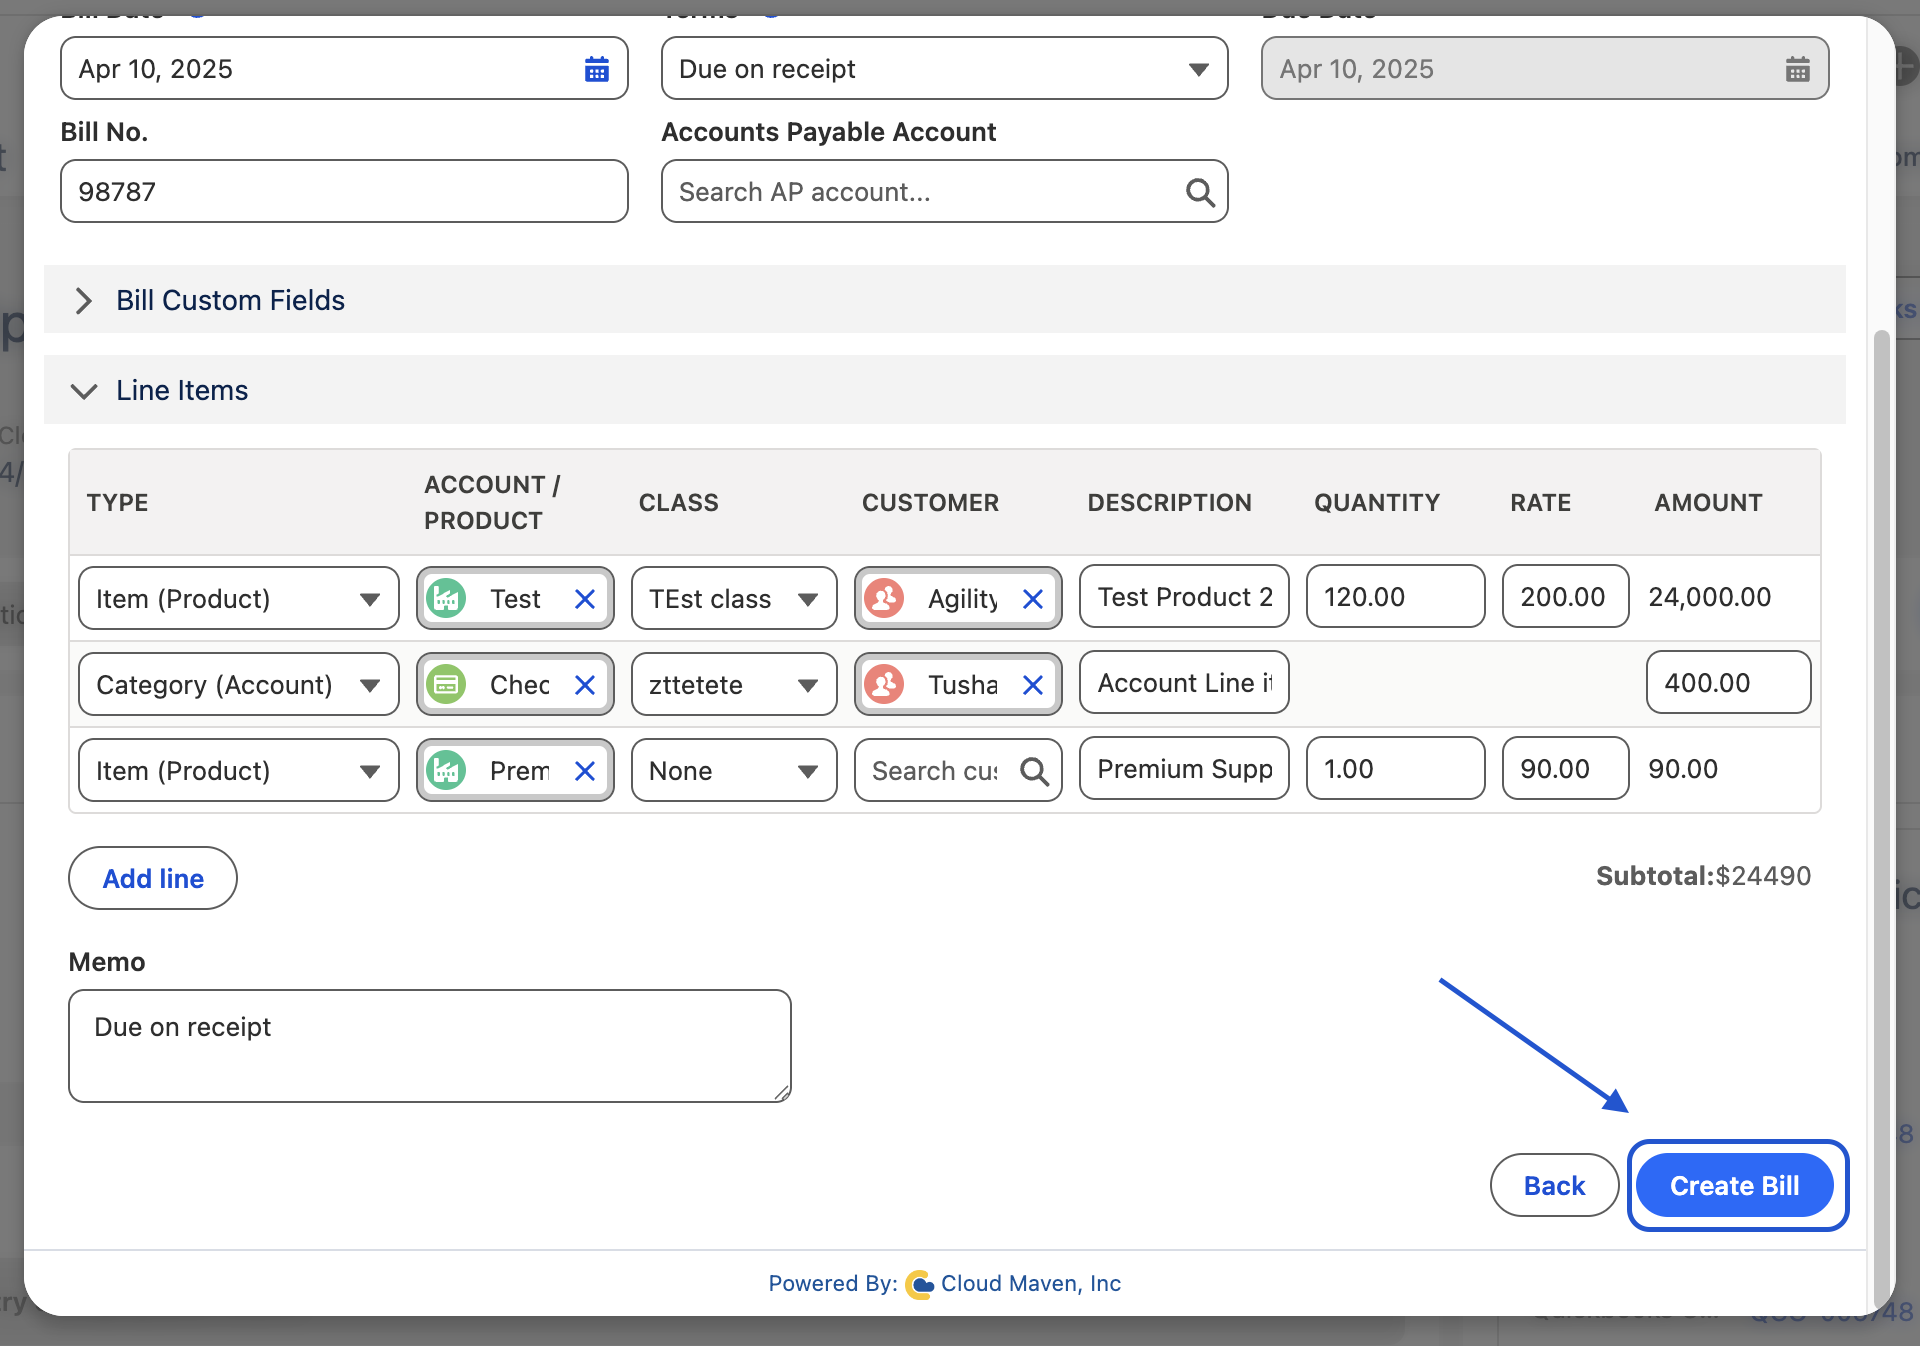
On success, the Bill is created in QuickBooks, and a Quickbooks_Bill__c record — along with its related Quickbooks_Bill_Item__c line item records — is created in Salesforce and linked back to the source record.
📌 Note: If your Bill mapping is configured with pre-population from the source record (see Section 2.6 of the Client Prerequisite & On-Boarding Form), the Bill Date, Terms, Due Date, Doc Number, Private Note, and line items may already be pre-filled — review the values before clicking Create Bill.